How to Frame Cross Stitch: From Finished Piece to Wall-Worthy Display
You've spent 40, 80, maybe 200 hours stitching something beautiful. The last thing you want is for framing to be the part that lets it down. Here's how to get it right.
You've spent 40, 80, maybe 200 hours stitching something beautiful. The last thing you want is for framing to be the part that lets it down. And yet — this is exactly where many stitchers get stuck. The stitching was relaxing; the framing feels intimidating.
It doesn't have to be. Whether you frame it yourself or take it to a professional, the process is straightforward once you understand the options. This guide covers everything from washing and pressing through to choosing the right mounting method, frame style, and glass — plus alternatives to traditional framing that might suit your piece better.
Before You Frame: Washing and Pressing
Frame a dirty cross stitch and you frame the dirt forever. Even if your piece looks clean, months of handling have left oils from your hands in the fabric. Washing isn't optional — it's the difference between colors that glow and colors that look slightly dull behind glass.
How to Wash Cross Stitch
- Fill a clean basin with lukewarm water and a small drop of gentle dish soap or mild detergent (not laundry detergent — it's too harsh)
- Lay the piece flat in the water. Don't scrunch, twist, or wring it
- Gently swirl the water. If the water discolors, that's hand oils and fabric sizing — it's normal
- Let it soak for 15–20 minutes
- Drain, refill with clean water, and rinse. Repeat until the water runs clear
- Lift the piece out and lay it flat on a clean white towel. Roll the towel gently to press out excess water — don't squeeze or twist
- Unroll and lay flat to partially dry
A word about colorfastness. DMC and Anchor stranded cotton are colorfast — they're designed to be washed. If you've used hand-dyed threads (Weeks Dye Works, Classic Colorworks, Gentle Art), test colorfastness first: wet a cotton bud and press it against a dark color on the back. If color transfers, skip the full wash and spot-clean instead. For more on thread types and their properties, see the thread types guide.
Red threads (especially older ones or budget brands) are the most likely to bleed. If you're nervous, add a color catcher sheet to the wash water as insurance.
How to Press (Iron) Cross Stitch
Press face-down on a thick, clean towel while the fabric is still slightly damp. The towel cushions the stitches so they don't get flattened by the iron.
Use a medium heat setting. If the piece is very wrinkled (Aida holds creases stubbornly), a burst of steam helps — but keep the iron moving, don't hold it in one spot. Linen and evenweave press more easily than Aida.
Press, don't iron. The distinction matters: pressing means lowering the iron straight down and lifting it up. Ironing means dragging it across the surface, which can distort stitches and pull the fabric out of shape.
Once pressed, let the piece dry completely before mounting. Mounting damp fabric causes mildew behind the glass — a problem you won't discover until months later.
Choosing a Display Method
There's no single "right" way to display cross stitch. Each method has tradeoffs, and the best choice depends on the piece, the room, and how much time and money you want to invest.
Lacing onto Board (the Traditional Method)
The gold standard for framed cross stitch. You stretch the fabric over a rigid board and lace the back with strong thread, then place the mounted piece into a picture frame.
How it works: Cut a piece of acid-free foam board or mount board to fit inside your frame. Center your stitching face-down, place the board on top, fold the fabric edges over, and lace back and forth with strong thread (quilting thread or crochet cotton works well). Work one direction first, then the other. Pull firmly but evenly — you want the fabric taut without distorting the stitches.
Corners: Fold one edge over the other and stitch down. For a neater finish, miter the corners — fold the corner diagonally first, then fold each side in to create a clean 45° angle.
Pros: Completely reversible (no glue, no staples, no damage). The piece can be removed and re-mounted in a different frame in 20 years. This is the method professional framers use for valuable needlework, and the one conservators recommend.
Cons: Takes 30–60 minutes depending on size. Requires patience and even tension. Not difficult, but not instant.
Best for: Pieces you plan to keep or give as gifts. Anything sentimental or valuable. Heirloom samplers, wedding pieces, memorial portraits.
Self-Adhesive Mounting Board
Pre-made boards with a sticky surface — peel off the backing, center your stitching, press down. Available from most needlework suppliers.
Pros: Fast (10 minutes). Easy. No lacing needed.
Cons: Not reversible. The adhesive bonds permanently to the fabric, which means you can't reposition or re-mount the piece later. Some adhesives yellow over time. If the board isn't genuinely acid-free, it can discolor the fabric.
Best for: Small pieces, seasonal decorations, projects where speed matters more than longevity.
Stretcher Bars (Canvas-Style)
Wrap the fabric around wooden stretcher bars (the same kind used for canvas paintings) and staple at the back. The finished piece hangs directly on the wall without a frame.
Pros: Modern, gallery-style look. No glass needed. Relatively affordable. Good for large pieces.
Cons: Staples puncture the fabric (not reversible). The edges are visible from the side unless you stitch them or cover them. Dust exposure without glass — the piece will need occasional cleaning.
Best for: Large full-coverage pieces that suit a contemporary display style. Pieces for casual rooms where glass feels too formal.
Hoop Display
Leave the piece in a decorative embroidery hoop. Trim the excess fabric at the back, glue or stitch a felt backing, and hang the hoop directly on the wall.
Pros: Charming, casual aesthetic. Very affordable. Quick to finish. Works beautifully for small, round designs — a mandala sized to the hoop is the natural fit. Hoops come in wood, bamboo, colored plastic, and decorative finishes.
Cons: No glass protection. Fabric is exposed to dust and sunlight. The hoop shape limits your design options (rectangular designs don't sit well in round hoops). The spring tension can distort the fabric over time — tighten periodically.
Best for: Small pieces, casual or cottage-style décor, seasonal rotations, gifts. Very popular for kitchen and nursery pieces.
Frame without Glass
Simply mount the piece and place it in a frame with no glazing. The cross stitch is visible and touchable.
Pros: The texture of the stitches is fully visible. No glare, no reflections.
Cons: No protection from dust, moisture, insects, or UV light. The piece will age faster. Not recommended for anything you want to preserve long-term.
Best for: Temporary display pieces, seasonal items, or pieces in low-dust environments.
Choosing a Frame
The frame should support the piece, not compete with it. A few practical guidelines:
Match the style to the piece. Ornate gold frames suit traditional samplers and heritage designs. Simple wood or white frames work with modern and minimalist cross stitch. Slim black or metallic frames give a contemporary feel. There's no formula — hold the piece up against a few options and trust your eye.
Size matters. The piece needs breathing room inside the frame. A mat (mount) board creates a border between the stitching and the frame, which prevents the design from feeling cramped. Typically 5–8 cm (2–3 inches) of mat on each side works well. Without a mat, the design looks crowded — and the fabric may touch the glass, which causes moisture problems over time.
Depth matters. Cross stitch has texture — the stitches sit above the fabric surface. Your frame needs enough depth to accommodate the mounted board, the mat, and the glass without pressing the glass against the stitches. If the glass touches the stitching, moisture can condense and cause mold. A spacer (a thin strip between the mat and glass) prevents this.
Glass Options
Regular glass: Affordable, clear, and provides basic protection. Shows reflections and glare in bright rooms. Fine for most pieces.
Non-reflective glass: Reduces glare significantly. Slightly frosted appearance — can make fine detail look softer. Good for pieces displayed in well-lit rooms.
UV-filtering glass (museum glass): Blocks 99% of UV light, which is the main cause of thread fading. Expensive (often more than the frame itself) but worth it for heirloom pieces, wedding samplers, or anything using hand-dyed threads that may fade faster. If you're spending hundreds of hours on a piece, UV glass is a reasonable investment. Conservation framing follows the same principles used by institutions like the Royal School of Needlework for preserving historic textiles. For more on how thread types respond to light exposure, see the thread types guide.
Acrylic (perspex): Lighter than glass, harder to break. Scratches more easily. Good for large pieces (reduces weight) and children's rooms (safety).
DIY Framing vs Professional Framer
The honest answer: both are valid, and the right choice depends on the piece and your confidence.
When to DIY
- The piece is small to medium (up to about 25 × 30 cm / 10 × 12 inches)
- You're using a standard ready-made frame from a craft shop or online
- The piece is for your own home or a casual gift
- Budget matters — DIY framing costs £10–30 for materials vs £50–150+ at a professional framer
DIY framing is less intimidating than it sounds. The lacing method requires a piece of acid-free foam board, strong thread, a needle, and an hour of your time. The result is perfectly good — millions of stitchers frame their own work and the pieces look great on the wall.
When to Use a Professional
- The piece is large, irregularly shaped, or uses unusual fabric
- You want museum-quality conservation framing (acid-free everything, UV glass, archival mat)
- The piece is an heirloom or gift for a special occasion (wedding, memorial)
- You want a custom mat cut or an unusual frame style
- You've tried DIY and the piece won't sit straight (stitching tension can pull fabric out of square — a good framer knows how to correct this)
Finding the right framer: Look for a framer who has experience with needlework specifically. Not all framers do — some use staples or spray adhesive, which damage the fabric permanently. Ask whether they lace needlework. If they say "we staple it to a board," consider looking elsewhere. A good needlework framer will lace the piece, use acid-free materials, and ensure the glass doesn't touch the stitching.
The cost difference is real. Professional framing for a medium cross stitch typically runs £60–120 / $80–150, depending on frame choice, glass, and mat. For a special piece, it's worth it. For your tenth finished ornament, DIY makes more sense.
Planning for Framing Before You Start Stitching
This is the part people discover too late: framing requires extra fabric around the design.
Leave at least 7–10 cm (3–4 inches) of bare fabric on every side of your design. This gives enough margin to fold over the mounting board, lace comfortably, and have the mat cover the edges. If you cut your fabric too close to the stitching, you won't have enough to mount properly — and there's no way to fix it after the fact.
When you're calculating fabric size at the start of a project, always add this framing margin on top of the finished design size. The fabric calculator includes this margin automatically — enter your stitch count and fabric count, and it adds the border you need.
If you're stitching on evenweave or linen and plan to frame it, this is another reason to leave generous margins. Evenweave has more drape than Aida, which makes lacing slightly more fiddly if the margins are tight. See the fabric types guide for more on how different fabrics handle in finishing.
Preservation Tips for Long-Term Display
A well-framed cross stitch can last generations. A few things that help:
Avoid direct sunlight. UV light fades thread colors over time — even colorfast threads like DMC will fade eventually under sustained direct sun. Hang framed pieces on walls that don't receive direct sunlight, or invest in UV-filtering glass.
Use acid-free materials throughout. Acidic mounting boards, mats, and backing materials will yellow and degrade over decades. Acid-free foam board costs slightly more than regular foam board but prevents discoloration. This matters especially for heirloom pieces — a wedding sampler framed with acidic materials will look noticeably yellowed in 10–15 years.
Keep glass off the stitching. Use a mat or spacer to create a gap between the glass and the fabric surface. Direct contact traps moisture and can cause mold or mildew — a heartbreaking discovery after years on the wall.
Seal the back. Cover the back of the frame with brown paper or a dust cover to prevent insects and dust from reaching the fabric. Professional framers do this routinely; for DIY, a sheet of acid-free paper taped to the frame back with framing tape works perfectly.
Common Mistakes
Not washing before framing. Oils from your hands will darken the fabric over time. Wash it. Even if it looks clean.
Cutting fabric too close to the design. You need those margins for mounting. If you've already made this mistake, a professional framer may be able to work with limited margins — but it's harder and more expensive.
Using regular cardboard as a backing. Cardboard is acidic. It will stain the fabric yellow over years. Use acid-free foam board or mount board.
Glass touching the stitches. Causes moisture trapping, potential mold, and flattens the texture of the stitching. Use a mat or spacer.
Choosing a frame before the piece is finished. Stitching tension, washing, and pressing can change the dimensions slightly. Finish the piece first, wash and press it, then measure for the frame.
FAQ
Do I need to wash cross stitch before framing?
What is the best way to frame cross stitch?
How much does it cost to frame cross stitch professionally?
Should I use glass when framing cross stitch?
How much extra fabric do I need for framing?
Can I frame cross stitch in a hoop?
What type of glass should I use?
Should I iron my cross stitch before framing?
Planning a new project? The fabric calculator figures out exactly how much fabric to cut — including the framing margins — so you never run short when it's time to mount and frame.
Design Your Next Frame-Worthy Piece
Convert any photo into a cross stitch pattern you'll be proud to frame — fine-tune colors, size, and detail level before you start stitching.
Try Stitchmate FreeNo account required. Works in your browser.
Related Guides & Tools

What is Aida Count?
How fabric count affects finished size — important for choosing the right frame dimensions.
Evenweave Fabric Guide
Working with evenweave and linen — softer fabrics that need slightly different mounting techniques.
Cross Stitch Thread Types
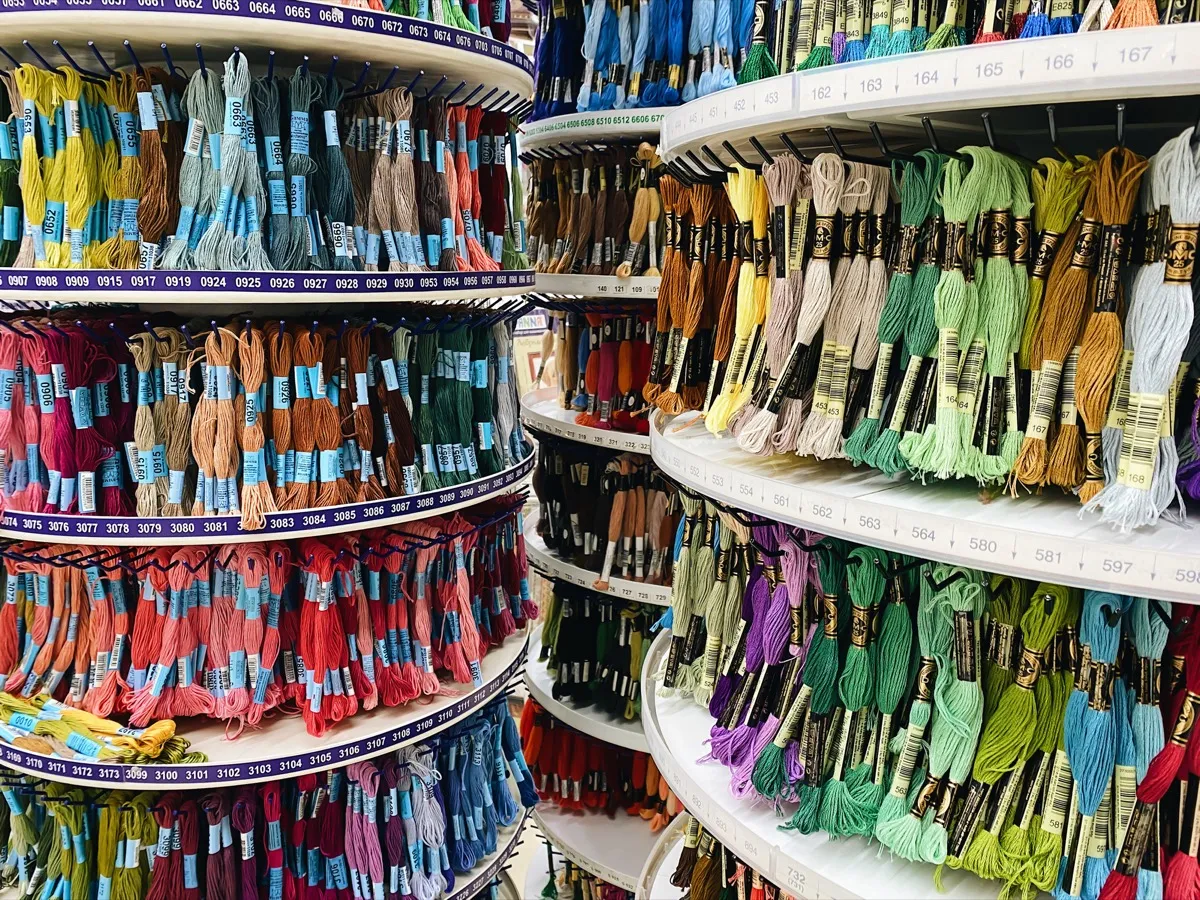
Thread properties including colorfastness, which matters when washing before framing.
How Long Does Cross Stitch Take?
Estimate your project time so you can plan framing around your finish date.
How to Finish Needlepoint
The canvas-side counterpart — blocking, lacing over board, and ornament finishing.