
How to turn a picture into a cross stitch pattern
Quick answer — convert a picture to a cross stitch pattern in 4 steps
- Upload your picture — drag a JPEG, PNG, or WebP into Stitchmate's free online photo to cross stitch converter. Works with photos, pictures, images, screenshots, and pixel art.
- Choose pattern size and color count — set the width in stitches (100×100 ≈ 7×7 in. on 14-count Aida) and pick how many threads to use across DMC, Anchor, Cosmo, Madeira, or any of 40+ supported floss brands. Portraits look good with 20–25 colors.
- Clean up confetti — use the cleanup brush over busy backgrounds and watch the FLOW Score (0–100). Aim for 70+ for a smooth stitching experience.
- Export a printable PDF — download a multi-page PDF with symbols, thread legend, and stitch counts. Pattern Keeper compatible. PNG export is free; PDF export requires an upgrade.
No download, no account. Most conversions take about 30 seconds of adjusting. Same four steps work for converting a photo, picture, or image into a cross stitch pattern — the words are interchangeable.
Whether you call it a photo, a picture, or an image, the process is the same: upload, adjust colors and size, refine confetti, then export a printable PDF. Stitchmate is a free online cross stitch image converter that runs in your browser — no download, no account. Most conversions take about 30 seconds of adjusting to find the right balance.
Step 1: Upload your photo, picture, or image
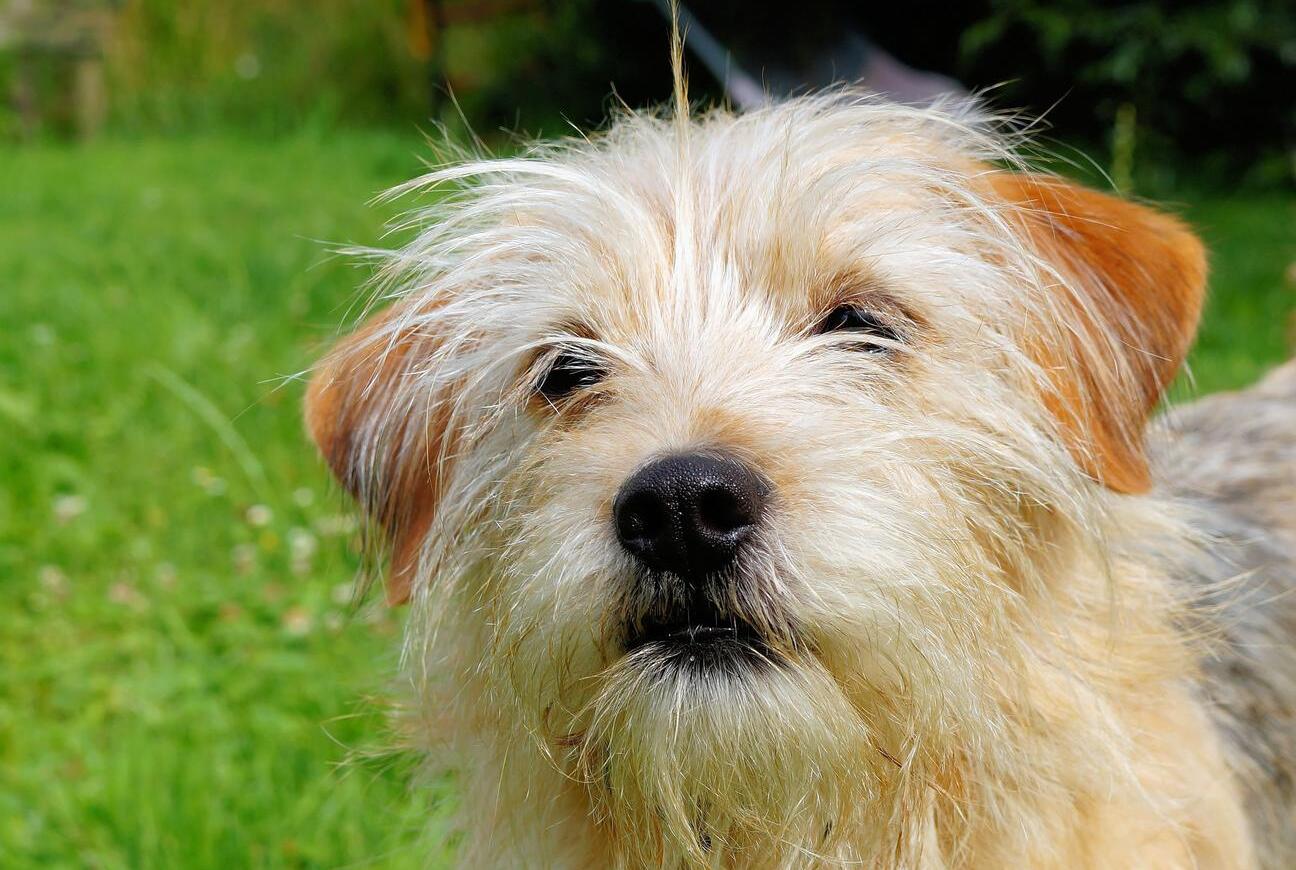
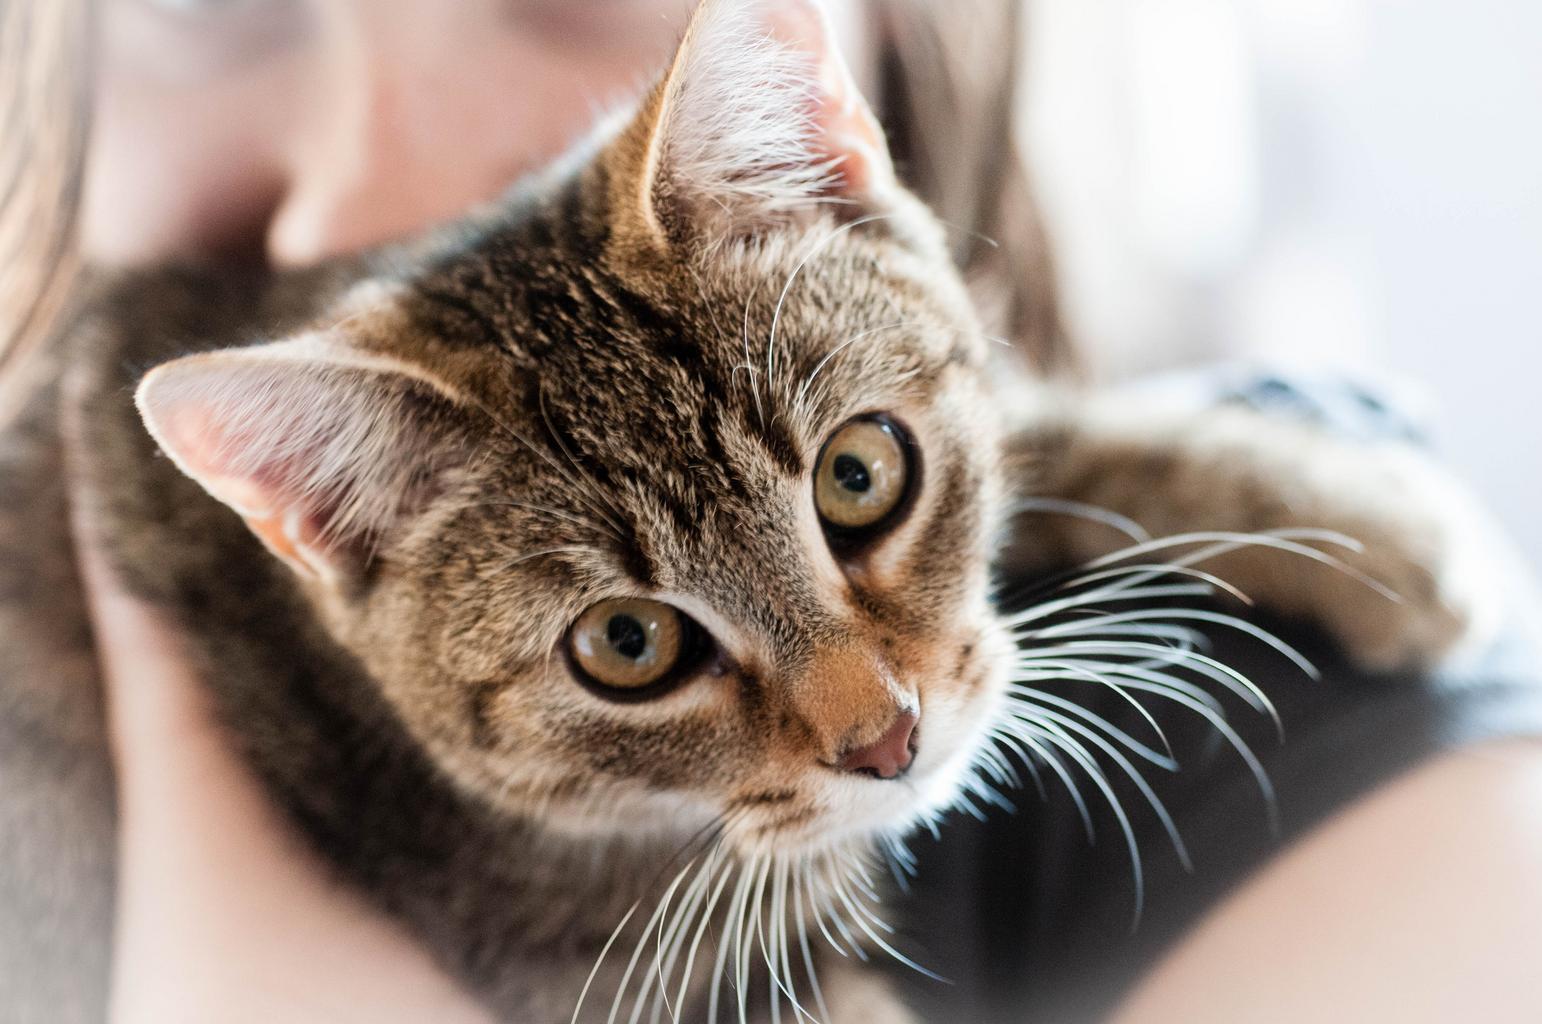
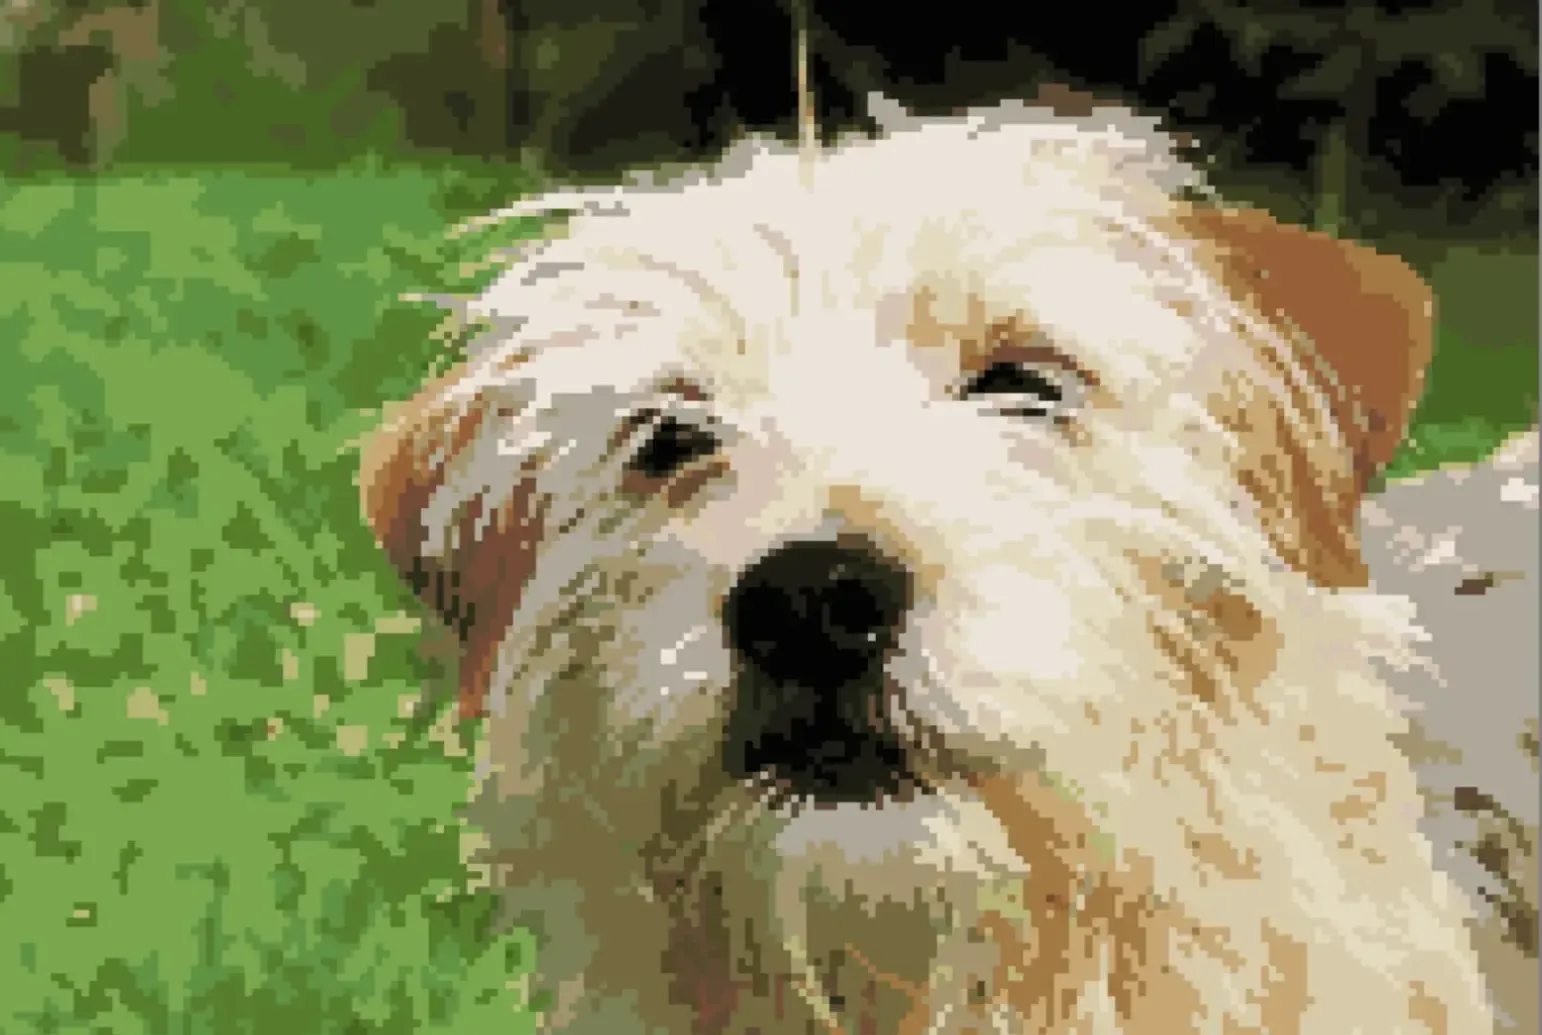
Drag any JPEG, PNG, or WebP into the upload zone — phone snapshots, scanned artwork, pet photos, family portraits, screenshots, and pixel art all work. If you're not sure your photo is suitable, see our guide on the best photos for cross stitch. Need to plan finished size? Check the fabric calculator before you commit to a pattern width.
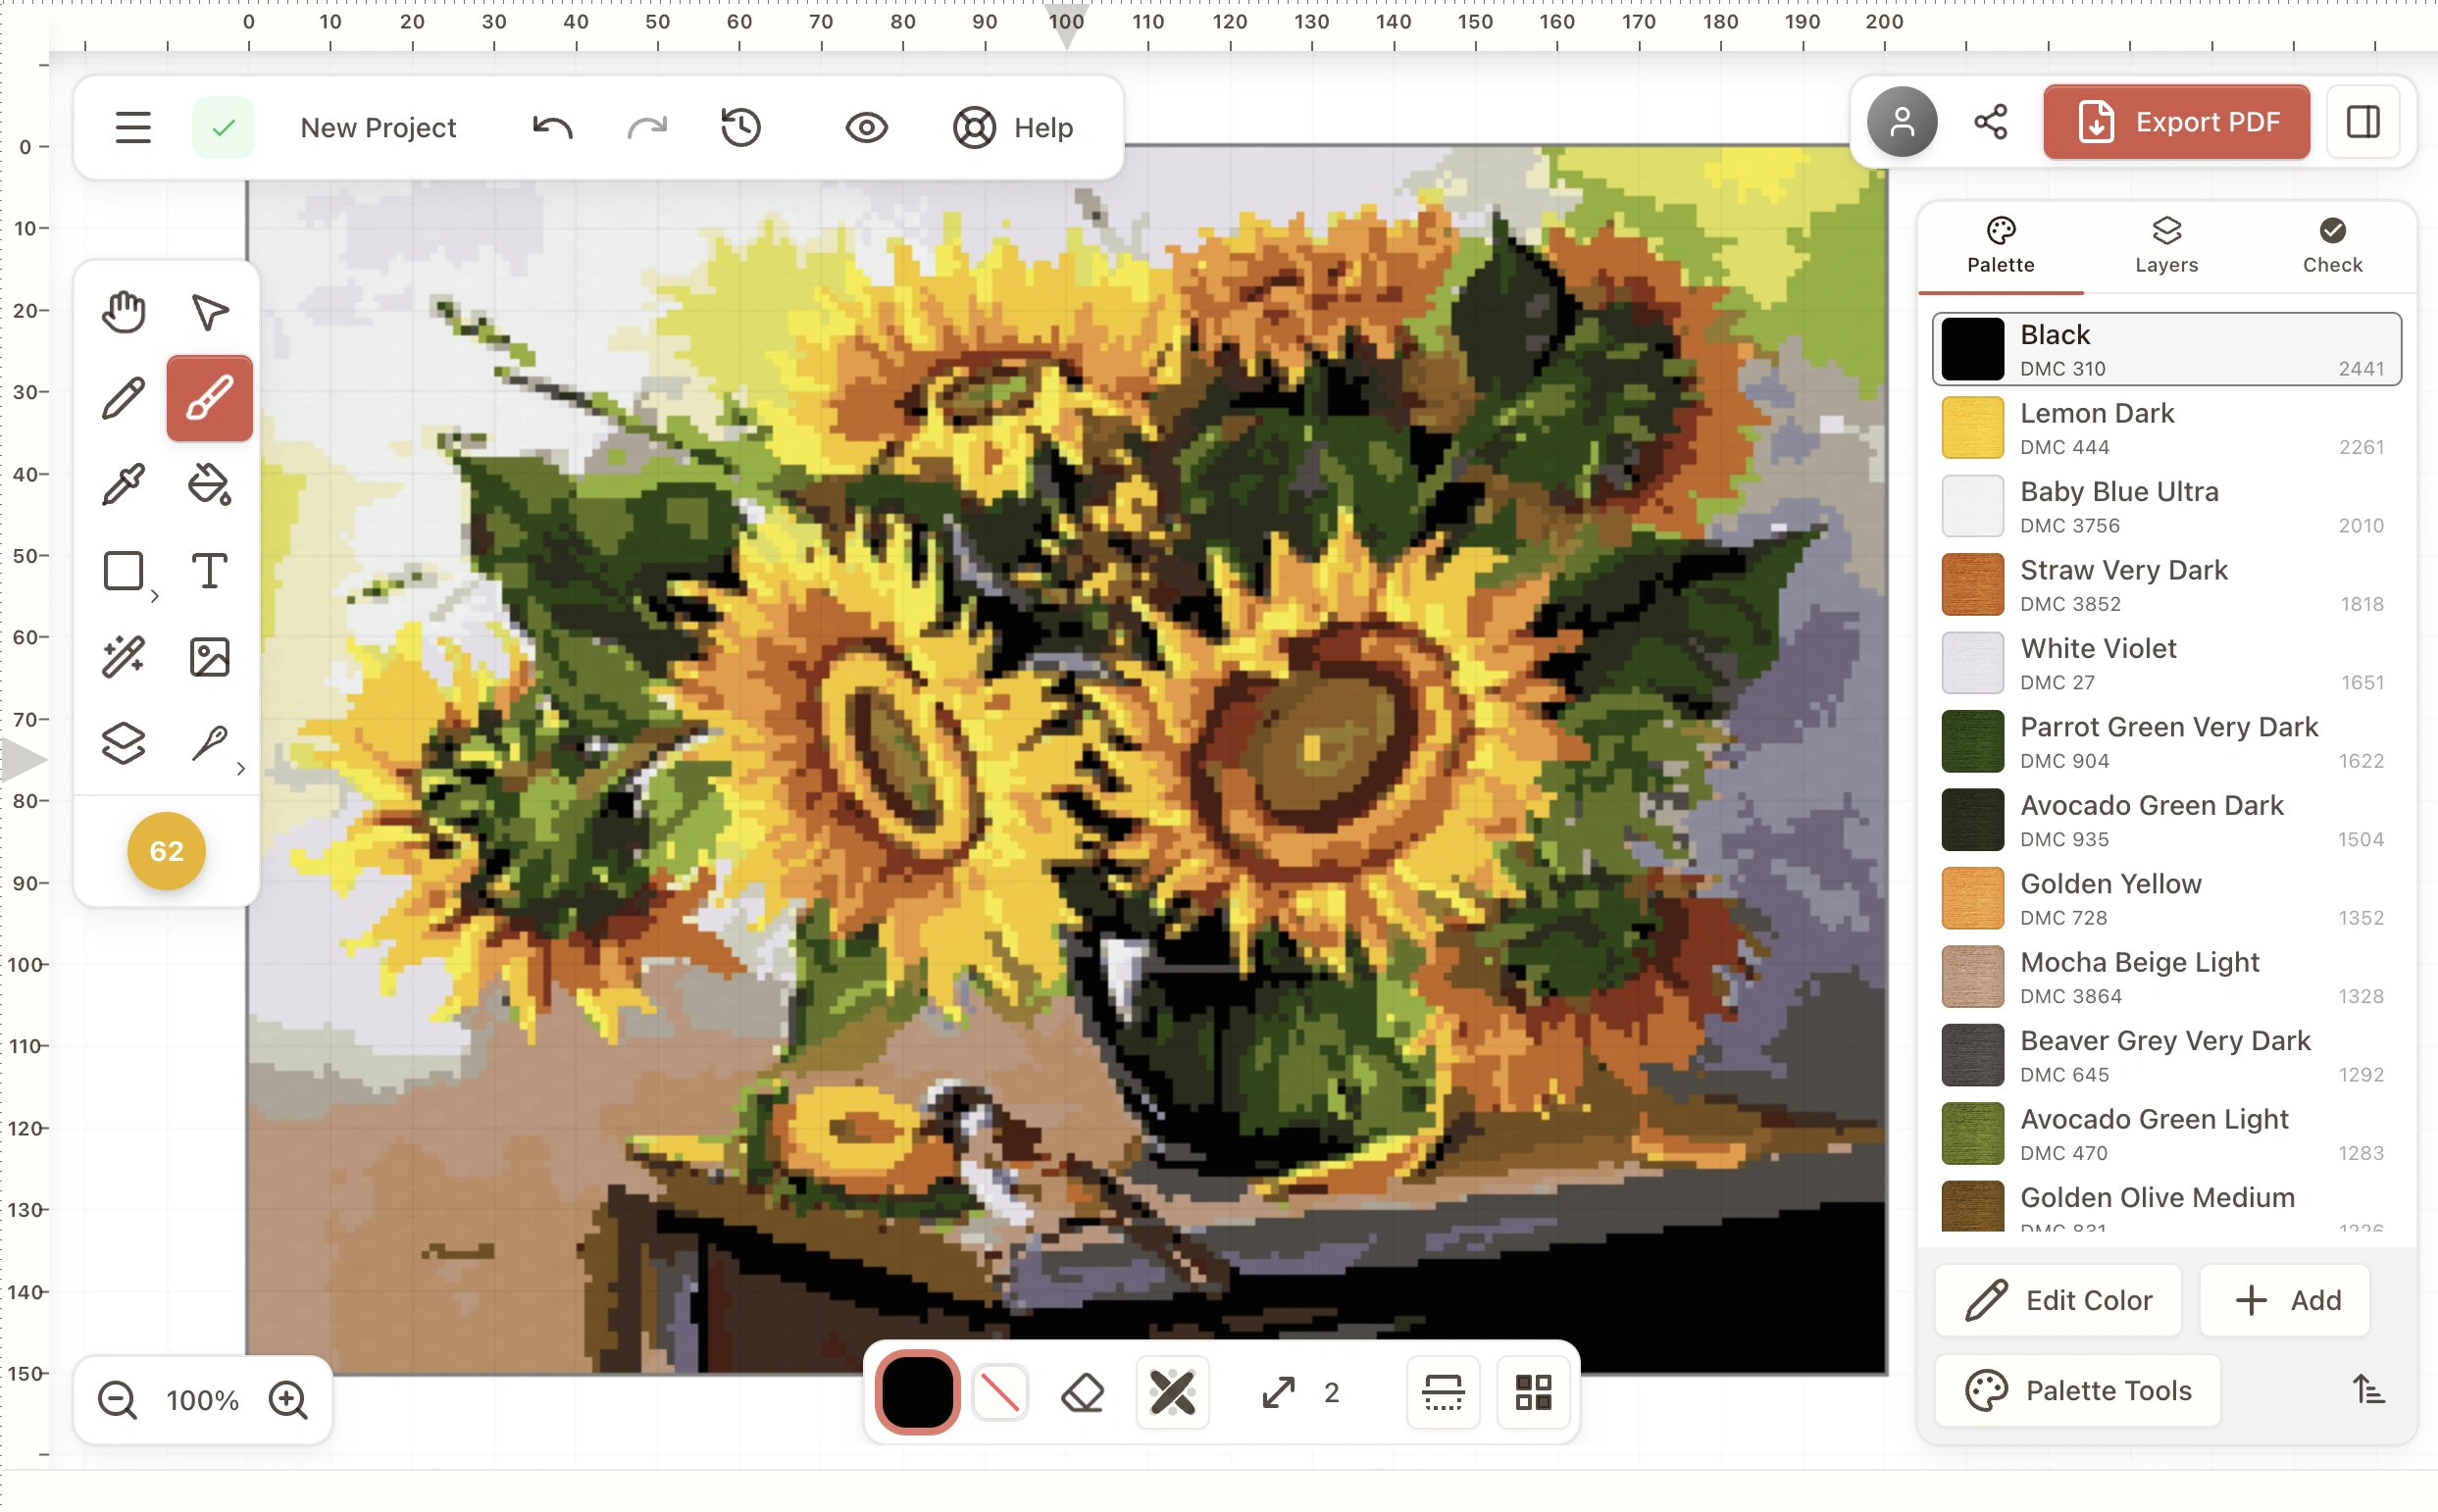
Step 2: Choose color count and pattern size
Drag the color slider to set how many threads the pattern will use — Stitchmate supports DMC, Anchor, Cosmo, Madeira, and 40+ embroidery floss brands (including hand-dyed lines like Weeks Dye Works and Gentle Art). Portraits look good with 20–25 colors; landscapes need 25–35; pixel art rarely needs more than 16. Then set pattern width in stitches — a 100×100 pattern finishes around 7×7 inches on 14-count Aida and takes 40–80 hours. Use the fabric calculator to plan other sizes, or the color count guide if you're unsure how low you can go.
Step 3: Clean up confetti and refine the preview
The algorithm reduces confetti automatically by grouping similar colors into stitchable regions, but some areas may still need help. Use the cleanup brush over busy backgrounds or noisy skin tones to consolidate scattered single stitches into solid shapes. Watch the FLOW Score (0–100) as you go — aim for 70+ for a pattern that's satisfying to stitch.
Step 4: Export as a printable PDF
Download a multi-page PDF with symbols, thread list, and stitch counts — Pattern Keeper compatible. PNG export is free; PDF export requires an upgrade. Save your project to come back to later, or share the PDF with the stitcher who'll work it.
Don't have a photo in mind? You can design a cross stitch pattern from scratch in the same editor — open a blank canvas and draw with the brush, fill, and shape tools, with every color matched to real thread.
Common questions about converting photos, pictures, and images to cross stitch patterns
People ask the same workflow five different ways depending on whether they think of their input as a photo, a picture, or an image. Quick answers below — expand for the differences that actually matter.
How to convert a picture to a cross stitch pattern — what the algorithm does
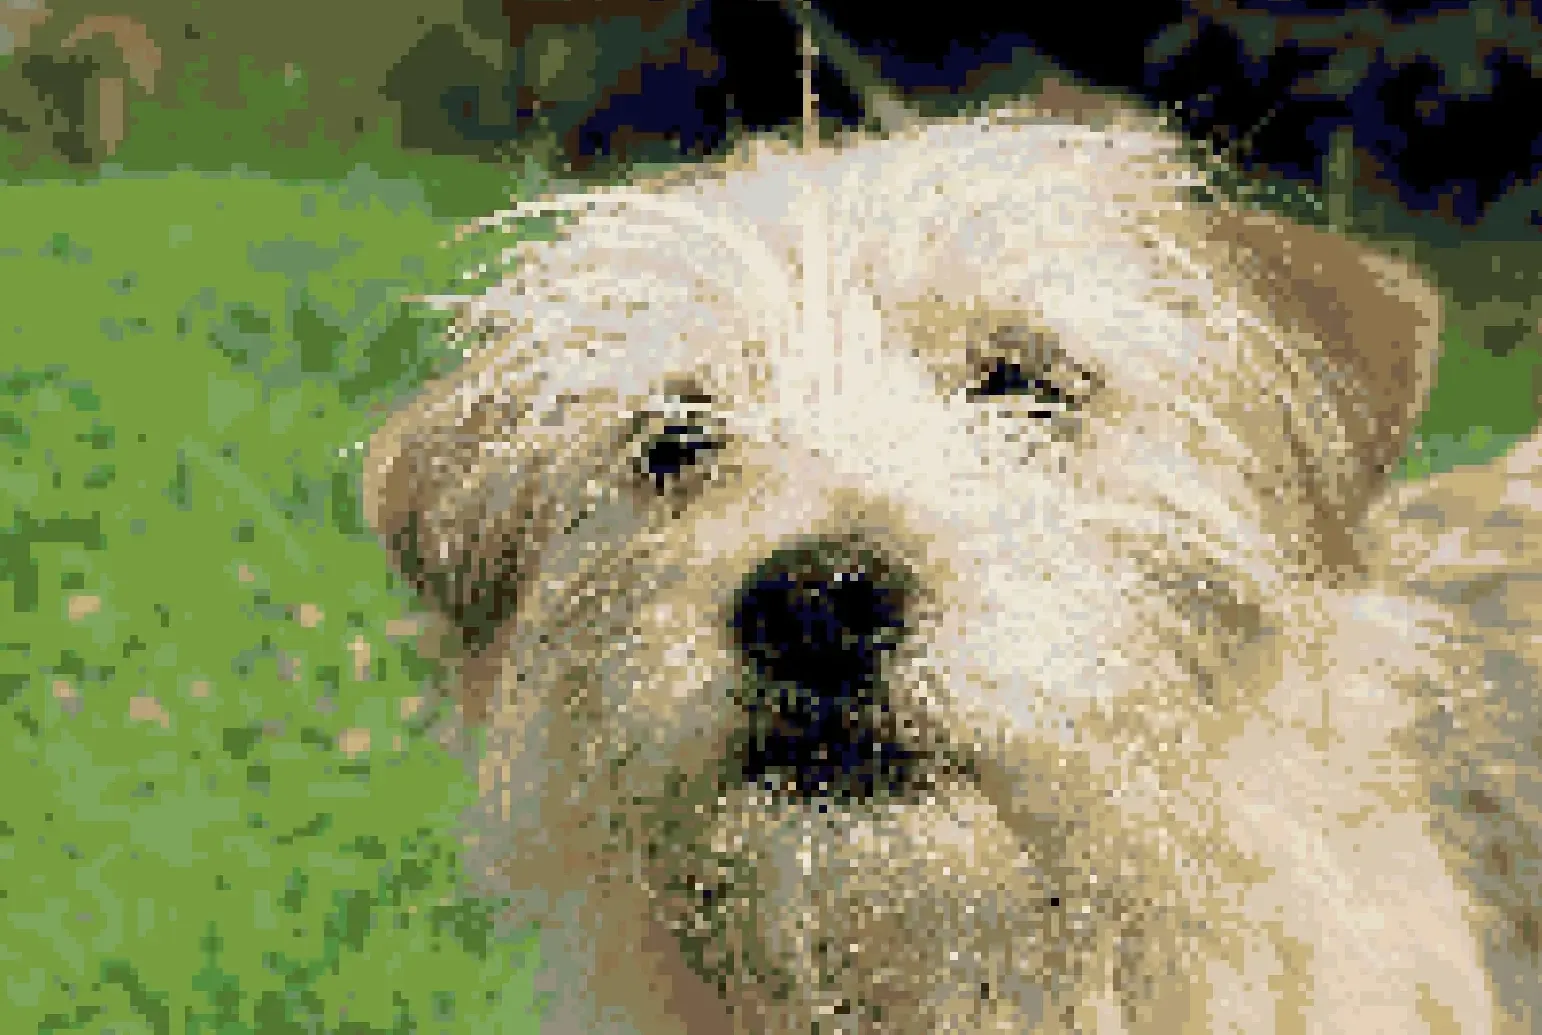
Upload the picture, choose your size and color count, run confetti cleanup, then export a PDF. The interesting bit is what the converter does between steps two and three. Naive converters quantize each pixel independently and you end up with hundreds of single-stitch islands — the confetti problem. Stitchmate's algorithm groups neighboring pixels into stitchable color regions before matching to thread, which is what cuts confetti by ~79% on default settings versus the alternatives. If your picture has a chaotic background, crop it before upload — the algorithm can't decide for you what the subject is.
How to turn a picture into a cross stitch pattern — what the output looks like
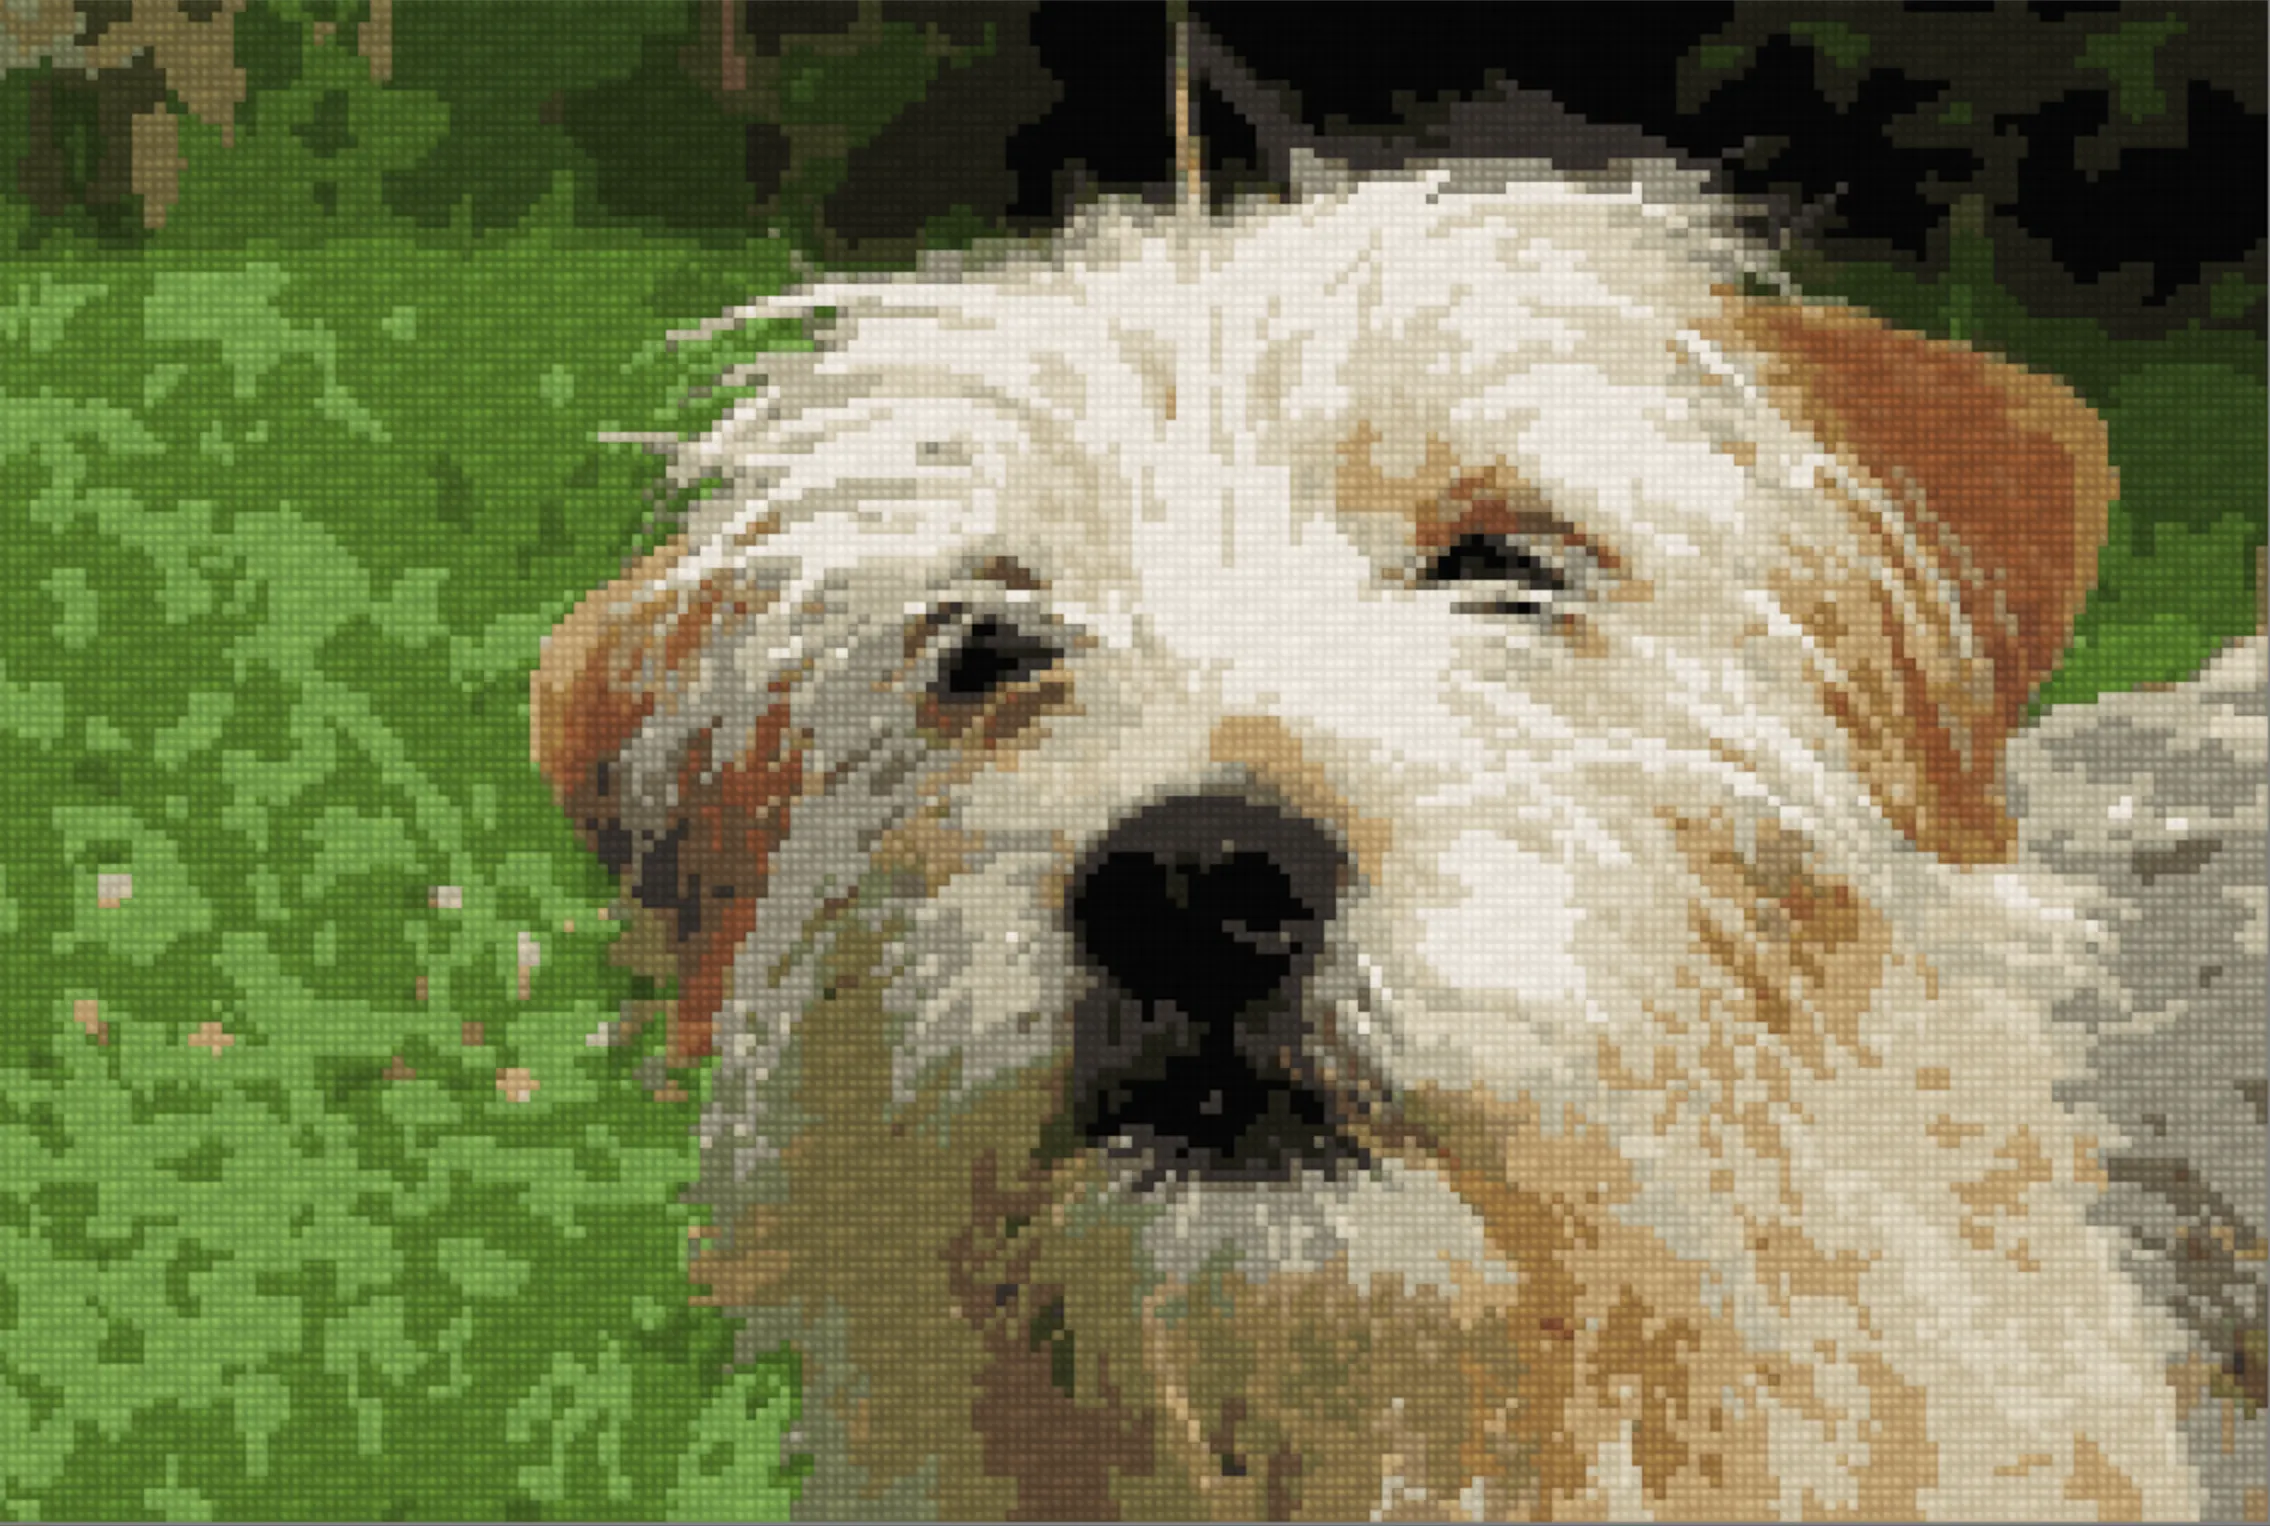
Drop the picture in, pick a width (try 100–200 stitches) and 15–30 thread colors, then download the chart as PDF. The output looks nothing like the original picture — that's the point. What you get back is a grid of symbols, each one mapping to a real DMC, Anchor, Cosmo, Madeira, or one of 40+ other floss brands. Stitchmate previews both views side by side: the symbol chart you'll actually stitch from, and a realistic render of how the finished piece will look on fabric. A 100×100 chart finishes around 7×7" on 14-count Aida; the fabric calculator handles other counts and gives you finished dimensions before you commit.
How to turn an image into a cross stitch pattern — supported file formats
Open Stitchmate, drop in any JPEG, PNG, WebP, GIF, BMP, or .aseprite file, set size and color count, export. Whatever format you have, Stitchmate eats it: camera-roll JPEGs, transparent PNGs, animated GIFs (first frame), classic BMPs, sprites pulled out of an Aseprite project file, scanned graph-paper sketches, even AI artwork from Midjourney or DALL·E. Pixel art converts almost perfectly because the source pixel grid maps 1:1 onto the stitch grid — there's no algorithmic guessing involved. Photos take more adjustment because the converter has to compress millions of subtly-different pixels into a finite thread palette without losing the subject. .aseprite files are a special case: Stitchmate preserves your layer structure, so iterating between Aseprite and the cross stitch chart stays non-destructive.
How to make a cross stitch pattern from a photo — continuous-tone challenge
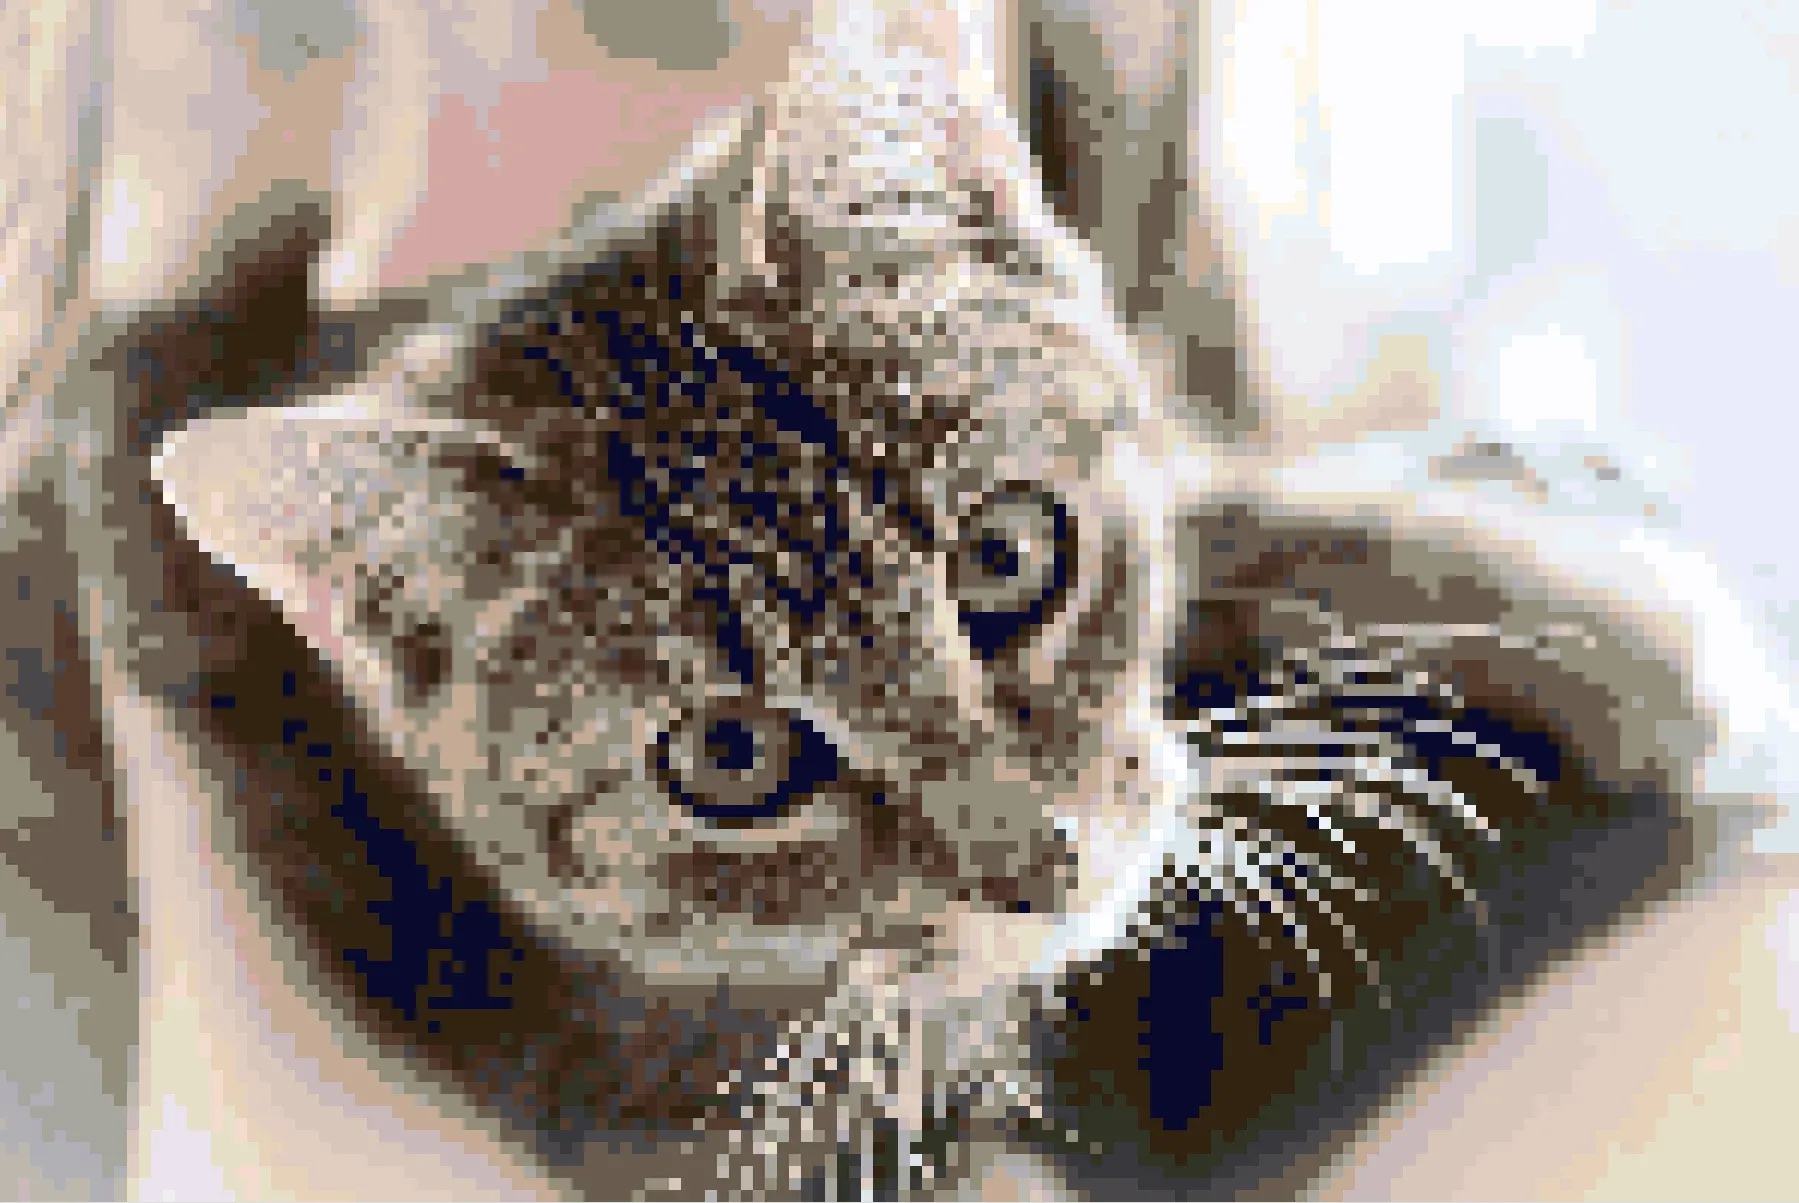
Upload the photo, set the width in stitches and 15–30 thread colors, brush over confetti hotspots, export a Pattern Keeper-compatible PDF. Photos are the hardest input because they contain continuous-tone color — every pixel of skin, fur, sky, or shadow is slightly different. The conversion has to bin those millions of subtle variations into 15–30 thread colors that still read correctly when stitched. Stitchmate does this with perceptual matching (CIEDE2000 in CIELAB space) instead of crude RGB distance, which is why portraits and pet photos come out recognizable instead of looking like a meme. For animal photos specifically, the pet portrait tips guide covers fur direction, eye highlights, and recommended color counts by species.
How to make a picture into a cross stitch pattern — size and color tradeoffs
Upload to Stitchmate, choose fabric count and pattern size, reduce the palette to 15–30 colors, clean up, download. The technical steps are the easy part — Stitchmate handles them in seconds. The decisions that actually shape your project are size and color count, and they pull against each other. A bigger chart preserves more detail but adds dozens of stitching hours. A leaner palette stitches faster but loses fidelity. Most stitchers iterate: convert at 30 colors, look at the FLOW Score, drop to 25, recheck, sometimes drop to 20. Because everything previews instantly, that whole loop takes minutes instead of the hours desktop converters used to demand.


