How to Iron Fuse Beads: Medium Heat, Slow Circles, and the Open-Center Test
Fusing is the thirty seconds that decides whether hours of bead placing become a solid design or a warped blob. The method is simple — medium heat, slow circles, stop while the centers are still open — and every failure mode has one cause.
Here's how to iron fuse beads in one sentence: cover the finished design with ironing paper, glide a medium-heat iron over it in slow circles without pressing, and stop the moment the beads have fused to each other while their centers are still open. Then cool it flat, flip it, and do the other side.
That's the whole method — Perler's official instructions call it the Standard Fusing Method, and Hama's and Artkal's versions describe the same steps in nearly the same words. It works identically whatever brand of beads is on your pegboard. The reason fusing still deserves a real guide is that it's the one irreversible step in the craft: placing beads can be redone endlessly, but thirty seconds of ironing decides whether the design comes out crisp, melts into a blob, or curls like a potato chip as it cools. Every one of those outcomes has a single, avoidable cause, and this guide covers all of them. (If you're still at the "what even are these" stage, start with what fuse beads are and come back with a full pegboard.)
Set up before you heat the iron
Fusing needs three things within arm's reach, and the first one is the one people skip:
A flat, heat-safe surface. An ironing board is ideal; a table protected with a folded towel works too. What doesn't work is anything soft or tilted — the pegboard has to sit dead flat, because you'll be moving an iron over loose beads sitting on pegs, and a wobble at this stage undoes an afternoon of placing. Move the pegboard to the surface before the iron comes out, carrying it level with both hands.
Ironing paper. This is the sheet that goes between the iron and the beads — both Perler and Hama sell it under exactly that name, and its job is to let heat through while keeping melted plastic off the iron's soleplate. Kitchen parchment paper — the standard household substitute — does the same job if your kit didn't include a sheet. The one non-negotiable: the iron never touches bare beads.
An ordinary household iron, set to medium. No special equipment, no steam function needed. Medium is the setting every brand's instructions give; Artkal is the one that publishes an actual number — 160–180°C. If your iron only has fabric names, the middle of the dial is where you want to be. Resist the instinct to go hotter "to be safe" — high heat is exactly how the most common fusing failure happens.
That's the entire kit list. Beads of every size fuse the same way, though thicker beads naturally take a little longer to bond than thinner ones — if you're not sure what size is on your board, the sizes and pegboards guide sorts that out.
The fusing steps
The full sequence, in order. Steps 3 through 5 are the actual ironing; everything else is protecting the work.
- Move the pegboard to your flat, heat-safe surface. Level, both hands, no bumping the table.
- Heat the iron to medium (160–180°C in Artkal's spec) and give it a minute to actually reach temperature.
- Lay the ironing paper over the whole design. Cover every bead — any bead the paper misses is a bead the soleplate will touch directly.
- Iron in slow, smooth circles — and keep the iron moving the whole time. This is the heart of the technique, and it's two rules in one. Circles, because a moving iron spreads heat evenly instead of cooking one spot. No pressing, because the iron's own weight is all the pressure fusing needs — pushing down squashes the beads flat and closes their centers. Glide, don't press; think polishing a table, not pressing a shirt.
- Watch the beads through the paper and stop at the open-center point. You'll see the beads' outlines start to show through the paper as they soften and bond. The doneness test gets its own section below, because it's the judgment call the whole craft turns on.
- Take the iron away and let the design cool on the pegboard — under a weight. A flat, heavy book on top of the paper is the classic. Cooling is when warping happens, and weight is what prevents it.
- Peel off the ironing paper, lift the design off the pegboard, and flip it over. The fused side now faces down. Lay the paper back on top.
- Fuse the second side the same way — medium heat, slow circles, stop at open centers — then weight it and let it cool completely before handling.
Total working time is a few minutes per side; the cooling is where the patience goes.
The open-centers doneness test
A correctly fused design passes one visual test: the beads have joined to their neighbors, but every bead still has an open hole in its center.
That's it. Not "melted smooth," not "holes just barely visible" — open. The beads soften from the top down, and by the time the tops have flowed together enough to bond, the centers have narrowed but not sealed. Perler's own instructions define the finished state exactly this way: fused, with the centers still open. If you can see the paper's texture pressing into a glossy, hole-free surface, you've gone past done.
The practical habit that makes the test work: check early and often. Lift the iron after a few circles and look through the paper. Underdone beads are a non-problem — put the paper back and keep circling. Overdone beads are forever. The asymmetry means all your errors should be on the "check too soon" side.
One caveat worth knowing: different colors can look different mid-fuse — translucent and dark beads read differently through the paper — so judge by the holes, not by shine.
Cool, flip, fuse the other side
The design isn't finished when the iron lifts — it's finished when the second side has fused and everything has cooled flat. Three details make this stage go right:
Cool completely before lifting anything. Warm plastic is soft plastic. Lifting the design off the pegboard while it's warm stretches the fresh bonds and can peel weakly fused beads loose. Give it the full cooldown, on the board.
Weight it while it cools. As fused plastic cools it contracts, and it contracts on the fused side first — which is why unweighted designs curl upward at the edges. A heavy flat book (on top of the ironing paper) applied immediately after ironing keeps the design flat while it sets. This costs nothing and prevents the most annoying failure in the craft.
Flip and repeat — really. Fusing the second side is not optional polish. A one-sided design holds its shape on the table and falls apart in a backpack; the flip-and-fuse is what turns a sheet of barely-bonded beads into a solid object. The second side goes exactly like the first: paper on, medium heat, slow circles, open centers, weight, cool.
When fusing goes wrong
Every fusing failure traces to one of three causes, and each one is diagnosable at a glance:
Closed holes, flattened beads, or a shiny melted blob — you over-ironed. Too hot, too long, or too much downward pressure (usually pressing, the instinct the craft most needs you to unlearn). There's no undo for this one: melted is melted. The fix is entirely preventive — medium heat, no pressing, and checking through the paper every few circles. If one region always overcooks first, that's the region your circles linger over; even out the motion.
The design falls apart when you lift it — you under-fused. Beads drop off the edges, or the sheet flexes and cracks along a line the iron missed. This one is completely fixable: set the design back down (on the pegboard if the beads still fit the pegs), cover it with the ironing paper, and give it more slow circles, paying attention to the edges and corners — the spots a centered circular motion naturally shortchanges.
The design curled or warped — it cooled unweighted. Not a heat problem at all: a perfectly fused design will still potato-chip if it cools in open air. Prevent it with the book-on-top habit from the previous section. If a piece has already warped, re-warming it gently under the ironing paper and cooling it again under a flat weight will usually relax it back — same steps, second chance.
Can you fuse beads without an iron?
The honest answer: no, not well. This question gets asked constantly, and the internet offers a parade of workarounds — hair straighteners, lighters, candles, heat guns, the oven. They disappoint for the same underlying reason: fusing depends on even, moderate, moving heat applied across the whole design at once, with the ability to watch the beads and stop at the open-center point. Every substitute fails at least one of those. Concentrated heat sources (straighteners, lighters, embossing guns) cook one patch to a closed-hole blob while the beads an inch away stay loose. Enclosed heat (an oven) takes away the watching-and-stopping entirely — by the time you can check, the decision's been made without you.
A flat soleplate gliding over ironing paper is genuinely the right tool, not just the traditional one, and the cheapest iron in the store — even a small travel iron — does the job perfectly. If an iron is the blocker, that's the thing to solve; there's no craft-store gadget that replaces it.
FAQ
How long do you iron fuse beads?
What temperature do you iron fuse beads at?
Can you use parchment paper instead of ironing paper?
Do you have to iron both sides?
Are the holes supposed to close when you iron?
Design Your Own Fuse Bead Pattern
Create a fuse bead pattern from scratch or from a photo — bead-accurate colors, a bead list with exact counts per color, and a printable PDF. Free, no signup.
Try Stitchmate FreeNo account required. Works in your browser.
Related Guides & Tools
What Are Fuse Beads?
The craft from zero — how it works, the brand landscape, and what you need to start.
Bead Sizes and Pegboards
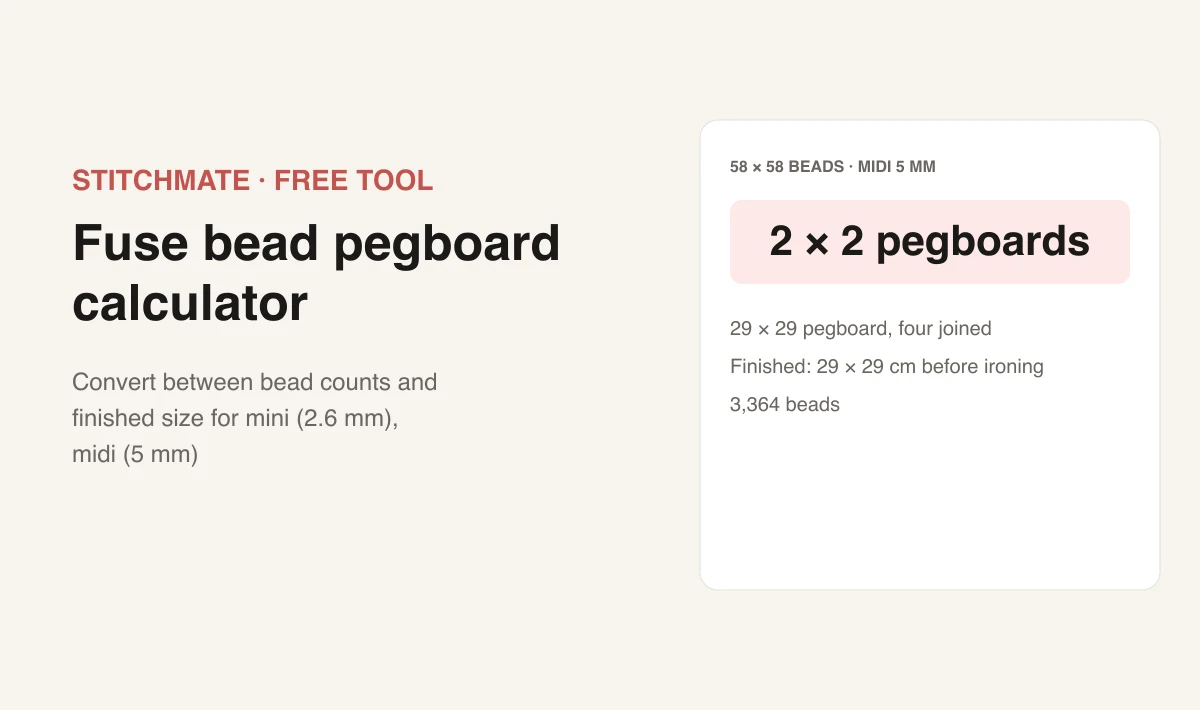
Mini, Midi, and Maxi sizes, the 29×29 board, and how many boards a pattern needs.
Pegboard Calculator
Pattern size to boards needed to finished dimensions — the math, done for you.
Fuse Bead Pattern Maker
Design patterns on a bead grid with real brand palettes and a printable bead list.