Diamond Painting Drills: Square vs Round (and What Full Drill Means)
Drills are the faceted pieces that make up every diamond painting. Shape is the biggest decision you make before starting — here is how square and round actually differ, and which to pick.
Drills are the small faceted resin pieces you place on a diamond painting canvas — the "diamonds" themselves. They come in two shapes, and the shape you pick changes how the finished piece looks, how fast it goes, and how forgiving the process is.
The short answer: square drills (2.5 mm) lock together with no canvas showing and give a crisp mosaic finish; round drills (2.8 mm) place faster and hide small mistakes. If unsure, pick square for sharp geometric art and lettering, round for photos and first kits. The rest of this guide is the detail behind that recommendation — plus what full drill, AB, and 5D actually mean.
What are diamond painting drills?
Drills are the faceted resin pieces that make up the image — you'll also hear them called diamonds, dots, or gems, all interchangeably. Each drill is one cell of the design: you pick it up with an applicator pen and press it onto a printed canvas coated with adhesive.
Two materials are involved, and they're worth keeping straight because beginners mix them up constantly:
- Wax is the pickup medium. You press the pen tip into a small block of wax so the drill sticks to the pen long enough to move it.
- Adhesive is what holds the drill to the canvas. It's a factory-applied layer on the canvas itself, under the peel-back film.
The wax never holds anything down, and the canvas layer isn't wax. When a kit's drills won't stay put, the adhesive is the suspect — not your wax block.
If you're brand new to the craft and want the full picture — canvas, pen, trays, the whole workflow — start with what is diamond painting and come back here for the drill decision.
Square vs round drills, compared
Every drill question eventually comes down to this table:
| Square drills | Round drills | |
|---|---|---|
| Size | 2.5 mm | 2.8 mm |
| Drills per cm | Exactly 4 | Just under 4 |
| Coverage | Full — no canvas showing | Slight gaps between drills (normal) |
| Finished look | Crisp mosaic, stained-glass sharp | Softer, lightly textured |
| Placement speed | Slower — alignment matters | Faster |
| Forgiveness | Low — crooked rows show | High — wobbles disappear |
| Best for | Geometric art, lettering, fine detail | Photos, portraits, first kits |
Neither shape is "better." They're two different finishes, the same way matte and glossy prints are two different finishes. What matters is matching the shape to the art and to your patience — which is what the next three sections are for.
Square drills: the crisp mosaic option
Square drills are 2.5 mm on a side — exactly 4 per centimeter. Because they're square, adjacent drills sit flush against each other with no canvas visible between them. The finished surface is a continuous mosaic: sharp edges, solid color fields, and lettering that stays legible.
Square drills also produce the thing the community won't shut up about (affectionately): the snap. When you press a drill into a nearly-complete row, it clicks into place against its neighbors. It's a small, genuinely satisfying piece of physical feedback that round drills don't give you.
The tradeoff is precision. Because every drill touches its neighbors, a slightly rotated or offset drill telegraphs down the whole row — crooked lines are visible in a way they simply aren't with round drills. Two habits keep square work clean:
- Straighten as you go. A pair of tweezers or the flat edge of a ruler nudges a drifting row back into line before it's locked in by its neighbors.
- Use the checkerboard method. Place drills in an alternating checkerboard, then fill the gaps. Each infill drill is guided on two sides by drills already down, which keeps rows square without constant eyeballing.
Choose square when the design has hard edges, text, geometric shapes, or fine detail you want rendered crisply — and when you're happy trading some speed for that finish.
Round drills: faster and more forgiving
Round drills are 2.8 mm across — slightly larger than squares — and they're the reason most people's first kit goes smoothly. A round drill doesn't have an orientation, so there's no such thing as a rotated one. Small placement wobbles vanish into the overall texture instead of breaking a row. Placement is noticeably faster, and multi-drill pens (which pick up a whole row at once) work best with rounds.
Two things to know so you're not surprised:
- Gaps are normal. Circles in a grid can't touch on all sides, so slivers of canvas show between round drills. From arm's length the gaps read as texture, not flaws. If the gaps would bother you, that's your sign to go square.
- Same count, bigger canvas. Because each round drill is a bit larger, the same drill count covers a slightly larger canvas than it would in square. Two kits with identical drill counts can differ in finished size purely because of drill shape.
One thing to watch for if you chart your own designs: most pattern software draws every cell as a square, which misrepresents what a round-drill piece will look like. In Stitchmate's diamond painting pattern maker, round drills render as true circles in the editor, the chart pages, and the color key — so what you preview is what you'll place, whether you design from scratch or convert a photo.
Choose round for photographic images, portraits, large canvases you want to finish this year, and any first project.
Square or round drills — which should you choose?
The honest decision tree is short:
- First kit ever? Round. You'll finish faster, and finishing your first project matters more than anything else.
- Sharp geometric art, mandalas, lettering, pixel-art style? Square. Hard edges want full coverage.
- Photo or portrait? Round. Faces and gradients are built from color transitions, not edges, and round's softer texture flatters them.
- Large canvas, limited patience? Round. The speed difference compounds over tens of thousands of drills.
- You want the maximum "stained glass" finish and don't mind straightening rows? Square, with the checkerboard method.
If you're still torn: pick square for sharp geometric art, round for photos and first kits. That default is right far more often than it's wrong.
One thing you shouldn't do is mix shapes in one piece. At 2.5 mm and 2.8 mm the two grids don't line up, so a design is charted for one shape or the other — commit before you buy drills.
What does full drill mean in diamond painting?
Full drill means the entire canvas is covered in drills — every cell of the grid gets a piece, edge to edge, background included. Partial drill means only the motif is drills, placed over a printed background that stays bare. Partial kits are faster and cheaper, which is why they're common for kids' kits and greeting-card-sized projects; full drill is where the craft's signature all-over sparkle comes from.
"Full drill" says nothing about drill shape. You'll see full drill round and full drill square kits, and everything in the previous sections applies to both.
If you're charting your own design, note that Stitchmate charts full-drill designs: one color per cell, no partial stitches, every cell filled. That's also where confetti enters the conversation — scattered single-drill color changes, usually in backgrounds and gradients. Confetti's reputation is split, and both camps are right. Plenty of painters genuinely enjoy confetti sections; the slow, checklist-like progress is part of the appeal. What nobody enjoys is unnecessary confetti — noise a careless photo converter sprinkled in that adds placement time without adding detail. Good charting is confetti control in both directions: keep the confetti that earns its sparkle, remove the machine-generated static.
AB drills and other specialty finishes
AB stands for aurora borealis: an iridescent coating applied over a standard drill color, giving it a rainbow shimmer that shifts with the light. Painters use AB drills as accents — highlights, water, snow, halos — where a flat color would sit dull.
AB is one of a family of specialty finishes:
- AB (aurora borealis) — iridescent rainbow shimmer
- Crystal — translucent, glass-like
- Fairy dust — fine glitter texture
- Glow-in-the-dark — charges in light, glows in the dark
- Metallic — opaque metal sheen
The key concept: these are finishes applied on top of a color, not separate colors. An AB version of a color is still that color underneath — and there's no official DMC mapping for specialty finishes, so no chart can specify "AB 310" as a distinct code. Stitchmate charts the color; whether you buy that color in standard, AB, or glow finish is your call at ordering time. A common move is to buy one or two accent colors in AB and everything else standard.
Drill colors are DMC numbers
Diamond painting borrowed its color language from embroidery: DMC numbers are the shared color system for drills. The codes on a kit's legend, the labels on loose-drill shop listings, the numbers on your storage containers — those are DMC codes. That's what makes drills interchangeable across brands: DMC 310 is the same black whether the bag came with your kit or from a restock shop.
This is genuinely useful in practice. Run out of a color mid-project? Order the DMC number from any loose-drill seller. Leftover drills from an old kit? They slot straight into any new chart that calls for the same codes. Stitchmate's diamond painting DMC color chart is the reference for the full drill color range — useful for matching leftovers, planning substitutions, or just seeing what a code looks like before you order.
Buying drills: bags, grams, and how much extra to get
Loose drills are sold two ways: count bags — 1,000 or 2,000 drills per bag — and by the gram. The numbers to keep in your head:
| Quantity | Roughly what you get |
|---|---|
| 1 gram (square) | About 210–230 drills |
| 1,000-count bag | 1,000 drills — about 62 cm² of solid square coverage |
| 2,000-count bag | 2,000 drills |
So a chart calling for 4,800 drills of a color means five 1,000-count bags or about 21–23 grams — before padding.
And you should always pad. Drills spill, ping off the table, and some arrive misshapen ("tossers" — the community's word for the rejects you toss). Buy 10–30% extra of each color: 10% for large solid areas where losses are proportionally small, closer to 30% for colors you only need a few hundred of, where losing one bag's worth to a carpet incident actually hurts.
Doing this math per color across a 30-color chart is exactly the kind of arithmetic that deserves a tool: the diamond painting size calculator takes your canvas size and drill shape and returns drill counts with the bags-and-grams shopping math done for you.
FAQ
What does full drill mean in diamond painting?
Are square or round drills better for beginners?
What are AB drills in diamond painting?
What's the difference between 3D and 5D drills?
How many drills are in a bag or a gram?
Are gaps between round drills normal?
Chart Your Own Diamond Painting
Design from scratch or convert a photo — pick round or square drills, and the editor, chart, and color key adapt to your choice, with drill counts per color built in.
Try Stitchmate FreeFree, no signup. Works in your browser.
Related Guides & Tools
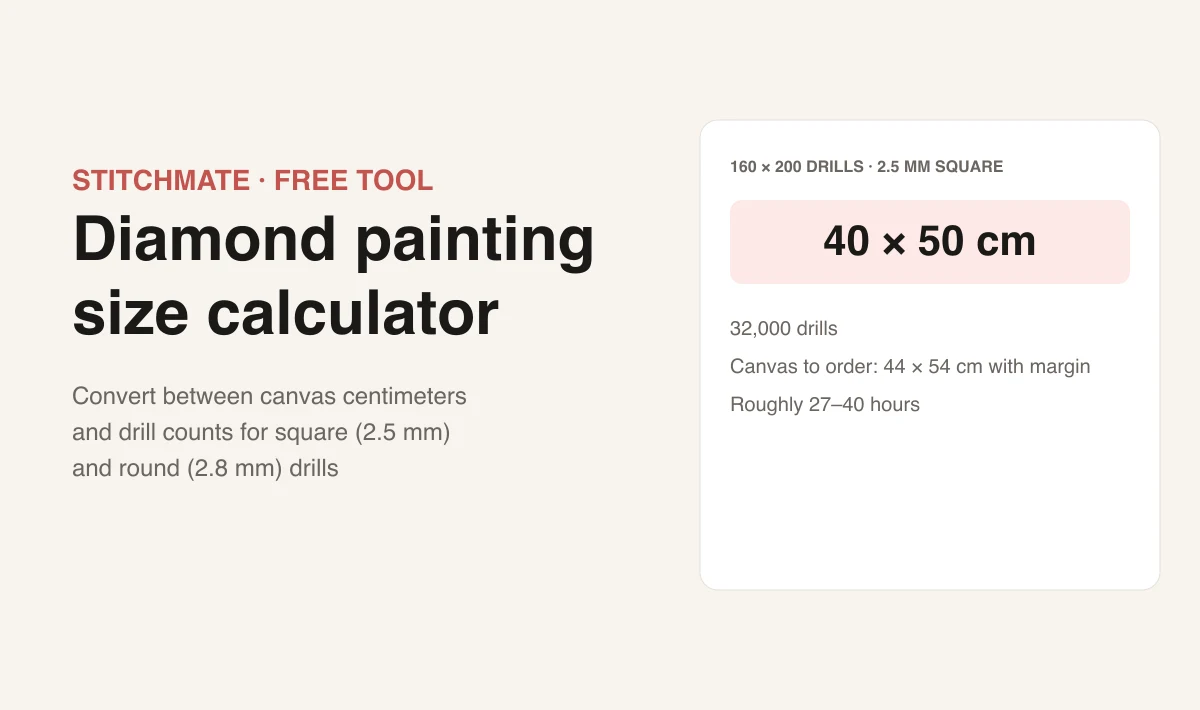
Diamond Painting Size Calculator
Canvas size to drill counts — with the bags-and-grams shopping math and padding done for you.

Diamond Painting DMC Color Chart
The full DMC drill color range — match leftovers, plan substitutions, and check codes before ordering.
What Is Diamond Painting?
The complete beginner overview — canvas, pen, wax, trays, and how a kit comes together.
How to Do Diamond Painting
Step-by-step technique — setup, placement methods, sealing, and finishing your first canvas.
Photo to Diamond Painting
Turn any photo into a chartable diamond painting with DMC drill colors and confetti control.
Diamond Painting Pattern Maker
Design charts from scratch — round or square drills, drill counts per color, printable PDF export.