How to Grid Cross Stitch Fabric (So the Chart and the Cloth Agree)
A miscount on a full-coverage piece can cost an evening of frogging. 40 minutes with a pen or a spool of thread stops it before it starts.
Quick answer: gridding draws the chart's bold 10 × 10 lines onto the fabric, so every stitch has an address on the cloth that matches its address on the chart. Find the center, mark the two center lines, then mark every ten stitches out from them. Use a water-soluble pen for speed, a running stitch of smooth thread for safety, or buy pre-gridded Aida and skip the evening.
The miscount that ruins a piece almost never happens in a busy area. It happens in a long run of one color, where there is nothing to check against, and it goes unnoticed for 200 stitches. A grid turns that run into a series of ten-stitch blocks, each of which has to land on a line. You catch the error at stitch 11 instead of stitch 200 and 11.
Why grid at all, and when to skip it
A cross stitch chart is already gridded: bold lines every ten stitches, with center arrows on the edges. Your fabric is not. Counting from the center works for small pieces because the distance from any stitch to a landmark is short. On a 250 × 300 full-coverage design, the nearest landmark can be a hundred stitches away, and every one of those hundred is a chance to be off by one.
Grid when:
- The design is over roughly 100 stitches in either direction.
- It's full coverage, or has large areas of a single color.
- You'll work it in sections, parking threads and coming back.
- You're stitching on evenweave or linen, where there is no obvious square to count.
Skip it when:
- The motif is small and you can see the whole thing in a hoop.
- There's open fabric between motifs, so each one is counted from a fresh landmark.
- You're stitching a kit with the design printed on the fabric (that is stamped cross stitch: the design is printed on the fabric, so there is nothing to count).
Gridding a medium piece takes 30 to 60 minutes. Frogging a miscounted section takes longer than that, and it takes it out of an evening you were looking forward to.
Four ways to grid, and the tradeoff for each
Water-soluble pen
The fast method. A blue water-soluble fabric marker and a ruler will grid a 16 × 20 inch piece of 14-count Aida in about 20 minutes. Draw along the holes between blocks, using the ruler to keep the line straight, and count ten blocks between lines. Two Little Kits' gridding walkthrough shows the pen method from the center out, with the fold-to-find-the-center step.
The tradeoff: the ink has to come out. Water-soluble ink rinses away in cool water, but heat sets it, so never iron a piece with the grid still on it, and don't leave it in a hot car. Some inks also react to the chemicals in certain hand-dyed fabrics and reappear as a faint ghost line after washing. Test the pen on a scrap of the same fabric, rinse it, and let it dry before you commit to the real piece. Skip air-erasable (purple) pens: they fade in a day or two, and a large piece takes months.
Running-stitch thread
The safe method. Thread a needle with ordinary sewing thread or fine crochet cotton in a color that contrasts with the fabric and your palette, and run a long basting stitch along each grid line: over ten blocks, under one, over ten, under one. Nothing touches the fabric that won't come out.
The tradeoff: it's slower, closer to an hour for a medium piece, and the gridding thread catches under your cross stitches as you work. Two things reduce that. Keep the basting stitches long so there is little thread on the surface, and choose a thread that is slippery rather than fuzzy. Cotton floss is the worst choice here: it sheds fibers into your stitches and is hard to pull out at the end.
Pre-gridded fabric
The no-work method. Easy Count Aida from Zweigart and DMC's Magic Guide come with a light grid already on the fabric, every ten blocks, that washes out in warm water when you're done. For full-coverage projects this removes the gridding evening entirely. DMC's Magic Guide Aida page lists the two sizes and the wash temperature.
The tradeoff: price and availability, and one thing that catches people out. The printed lines run on a row of blocks rather than between rows, so a stitch can land directly on a line. Count from the line rather than expecting ten clear blocks on each side of it, and check on the first section: ten blocks should span exactly one printed square. If they don't, the fabric was cut off-grid and you'll want to mark your own center.
Fishing line or Sulky thread
The full-coverage stitcher's method. Fine monofilament fishing line (4 lb test) or Sulky Sliver, a flat metallic thread, is stitched in the same running stitch as thread gridding. Both are smooth enough that they don't catch, strong enough to pull out in one motion at the end, and visible under a dense layer of stitches. This is what the HAED (Heaven and Earth Designs, the full-coverage chart house) and large-chart community settled on, and for good reason. Peacock & Fig's fishing line gridding video shows the over-five, under-five rhythm, and Lord Libidan's gridding roundup compares every method side by side.
The tradeoff: monofilament is springy and wants to curl; use short lengths and knot the ends firmly. Sulky Sliver is easier to handle but shows up in photographs of your work in progress. Neither is worth the bother on a piece you'll finish in a week.
Step by step, from the center out
Whichever method you use, the order is the same. Everything works out from the center, because the center is the one point the chart and the fabric agree on before you've done anything.
- Find the fabric's center. Fold the fabric in half lengthwise and crease it lightly; fold in half the other way and crease again. Where the creases cross is the center. On Aida, decide whether the center falls on a hole or in a block, and make the same decision the chart makes (most charts center on a hole, where four blocks meet).
- Mark the two center lines first. One vertical, one horizontal, the full length and width of the design area. Every other line is measured from these two.
- Mark every tenth row out from the center. Count ten blocks, mark, count ten more. Do the vertical lines first, then the horizontal, and count from the center line each time rather than from the previous line, so an error doesn't compound.
- Check the count against the chart. Your chart is, say, 140 × 200 stitches: 14 blocks of ten across, 20 down. Count the grid squares on the fabric. If you have 15 across, one line is off, and it's far cheaper to find it now.
- Mark the margins. A line at the edge of the design area on each side tells you where to stop and makes framing easier.
If the chart's stitch count isn't a multiple of ten, the outer blocks will be partial. That's normal; the chart's bold lines are partial there too.
Matching the grid to your PDF chart
A well-made chart makes gridding almost mechanical. The PDF export draws its major grid lines every ten stitches, bolder than the minor lines, and can draw center lines through the midpoint (an export setting, off by default, worth switching on when you grid). Each bold line on paper corresponds to one line on your cloth. When you're stitching, you locate a block on the chart by its bold lines and locate the same block on the fabric by its grid lines, and you never count past ten.
Multi-page charts add a wrinkle: the bold lines are counted from the chart's top-left corner, not from each page's edge, and the stitch numbering along the rulers is continuous. Use the ruler numbers, not the page position, to work out which grid square you're in. If you're new to charts, how to read a cross stitch pattern explains the center marks and page references.
Removing the grid without regret
Pen: soak the finished piece in cool water for ten minutes, then rinse until no blue runs. Don't rub. Roll it in a towel and dry flat. Only iron after you're sure the lines are gone: any trace that survives heat is permanent.
Thread, fishing line, Sulky: snip the knots and pull each line out from one end. Pull gently and straight; if a line resists, it's caught under a stitch, and you should work it free from that stitch rather than tug. Pull horizontal lines first, then vertical, or the other way around, but not both at once.
Pre-gridded fabric: wash in warm water (Zweigart specifies about 104 °F, 40 °C) with a little mild soap. The lines should be gone in one wash; a second wash handles stubborn spots.
Mistakes that cost people a finished piece
- Ironing before rinsing. The most common one. Heat sets water-soluble ink. The grid stays forever.
- Pen on hand-dyed fabric. The dye can bleed when you soak the piece to remove the lines, and you can't test that on a scrap without ruining the scrap. Use thread instead.
- Gridding stretched fabric. If the fabric was in a tight hoop or on a frame when you drew the lines, they'll shift when it relaxes. Grid it flat, on a table.
- Off by one from the center. Deciding the center is a block when the chart says it's a hole shifts the entire grid half a stitch. Check where the chart's center lines fall before you draw anything.
- Counting from the previous line. Each line measured from the last one carries every earlier error forward. Measure from the center line.
- Fuzzy thread. Cotton floss as a gridding thread sheds into your stitches and shreds when you pull it. Use something smooth.
Even with a grid, some mistakes will happen, and that's okay. How to fix cross stitch mistakes covers the ones the grid didn't catch.
Chart it before you grid it
Print graph paper that matches your fabric count, or make a PDF chart with bold lines every ten stitches, and the grid on the cloth lines up with the grid on the page.
Open the graph paper generatorFree. Any count from 4 to 40 squares per inch.
FAQ
Do I have to grid my fabric?
What pen is safe for gridding cross stitch fabric?
What thread should I grid with?
Is pre-gridded Aida worth it?
How do I match my grid to the chart?
Related Guides & Tools
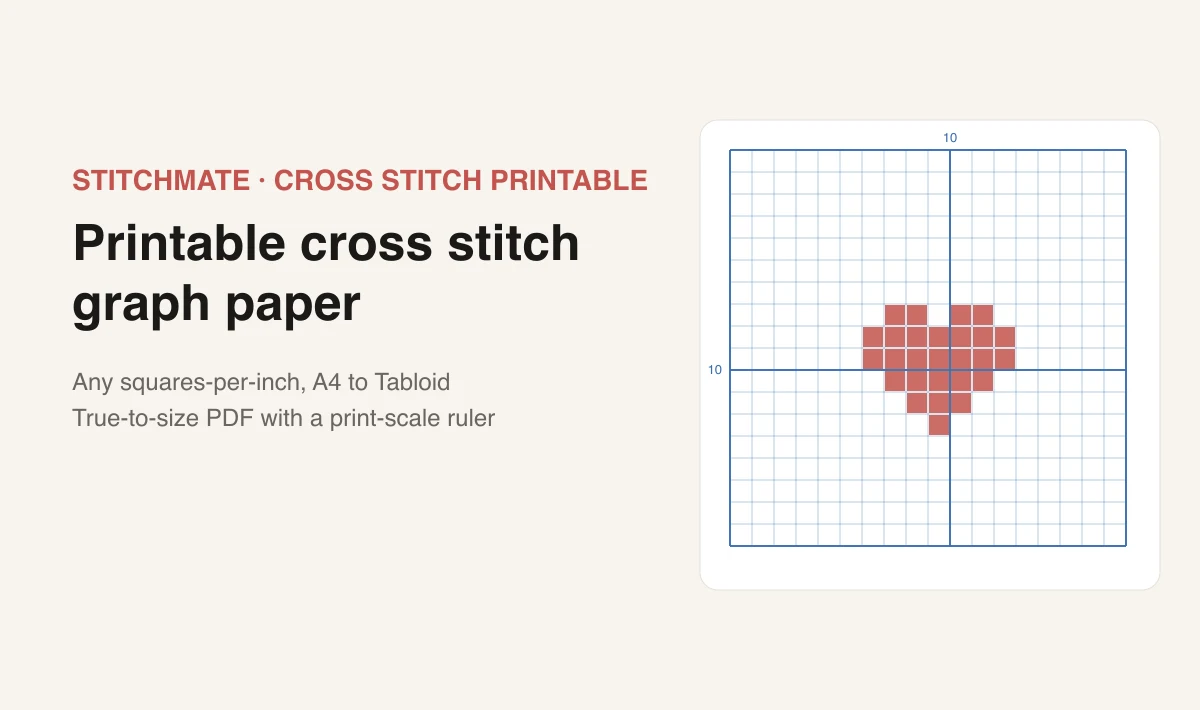
Cross Stitch Graph Paper
Printable graph paper at any squares-per-inch value, with a printed ruler so you can check the scale.
How to Fix Cross Stitch Mistakes
Frogging, miscounts, and the errors worth living with — plus how to stop them happening again.
Cross Stitch Fabric Types
Aida, evenweave, linen, and specialty fabrics — which one for which project.

Aida Count Explained
11 vs 14 vs 16 vs 18 count, side by side, with finished sizes in inches and cm.