How to cross stitch letters, names, and signatures
A name is what makes a stitched piece belong to someone. Here is how to build letters on a grid, lay out a name so it sits centered, and sign your work the way samplers always have.
A stitched piece becomes personal the moment there's a name on it. The floral border could be anyone's; "Eleanor, June 2026" makes it hers. That's why lettering shows up on nearly every sampler, baby announcement, wedding piece, and finished gift — and why learning how to cross stitch letters is the first thing most stitchers learn after the basic X.
There are two ways letters get built on a grid. Full-stitch lettering fills whole squares with cross stitches, so a letter is a small block of Xs. Backstitch lettering draws each letter as thin lines running along and across the grid, using the same technique as outlines. Everything in this guide — stitching a single letter, laying out a name, adding a cross stitch signature to a finished piece — comes down to one of those two techniques, or a mix of both.
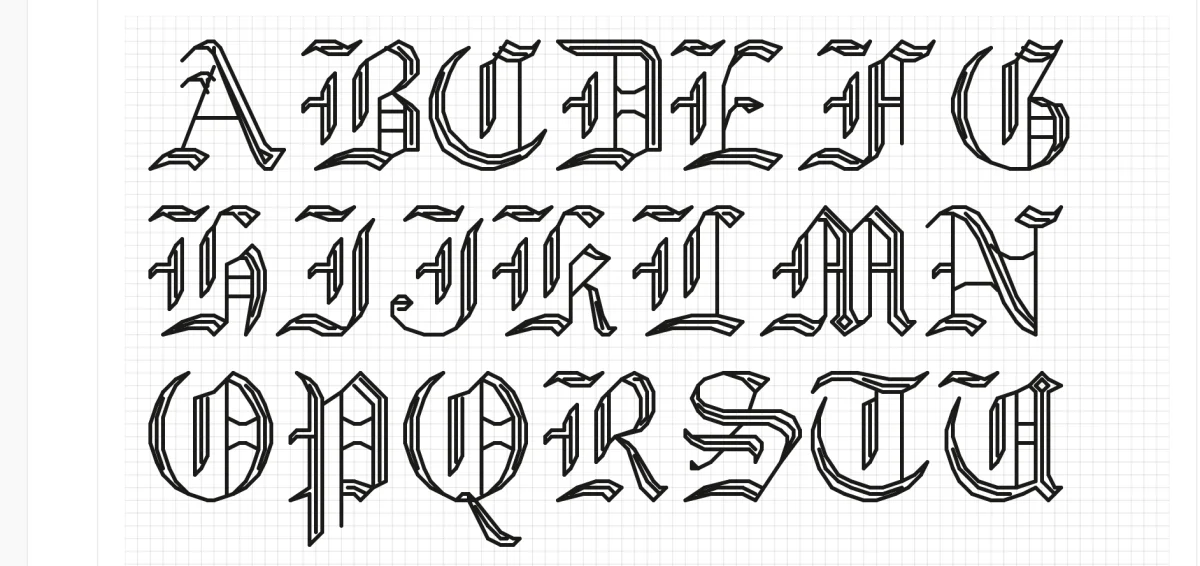
This is the how guide: stitching a letter, centering a name, kerning an awkward pair, signing your work. If you're still choosing a font, start with the cross stitch fonts and alphabets guide, which covers font styles and the built-in library, then come back here with an alphabet in hand.
How letters are built on a grid
Every letter has to live inside the chart's grid. A square (or cell) is either stitched or it isn't, and a backstitch runs from one grid intersection — the corner where four squares meet — to another. Cross stitch lettering, with its curves and diagonals, fights those constraints harder than anything else in a design, which is why two techniques exist.
Full-stitch lettering
In full-stitch lettering, a letter is a pattern of filled squares. A capital I might be a single column 7 squares tall. A capital A in a 5×7 alphabet is 16 stitches arranged into two legs and a crossbar.
What you get: bold, high-contrast letters that read from across the room, and lettering that sits naturally with a cross stitched design because it's made of the same X. What you give up: curves. A 5-wide S is a zigzag; an O is an octagon. Below about 5 stitches tall, letters start to blur into each other — in a 3×5 alphabet, B and 8 are hard to tell apart.
Backstitch lettering
In backstitch lettering, a letter is a path. Each stroke is a series of short straight stitches from intersection to intersection — horizontal, vertical, or diagonal across a square — and no squares are filled.
What you get: thin, elegant lines, curves approximated by short segments, and letters that can be tall and narrow without looking heavy. Script, cursive, and italic lettering are almost always backstitch, because a slanted stroke is one diagonal stitch rather than a staircase of squares. What you give up: contrast and speed. A single strand of floss is a fine line, so backstitch text on a busy background disappears, and following a path of segments takes more attention than filling squares. The backstitch guide covers the technique itself in depth.
Which technique wins where
The rough rule:
- Names, headlines, statement words — full stitch. You want weight and legibility. The bold word in a tidy floral border that Subversive Cross Stitch made famous is almost always full-stitch lettering.
- Dates, small captions, long quotes — backstitch, or a compact full-stitch alphabet. Backstitch fits more text into less fabric.
- Anything cursive or slanted — backstitch. Full stitch can't produce a clean italic below about 12 stitches tall.
- Lettering that has to match a stitched picture — full stitch, so letters and image share one texture.
- A signature or maker's mark — either, depending on how visible you want it. More on that below.
Many pieces use both: a full-stitch name with a backstitch date underneath, or full-stitch letters sharpened with a single-strand backstitch outline.
Stitching a single letter: the letter A
Before a name, one letter. The capital A is a good first letter because it has a bit of everything: a pointed top, two spreading legs, a crossbar, and empty squares in the middle that you have to skip over without leaving a mess on the back.
The chart
Here's a capital A from a standard 5×7 alphabet — 5 squares wide, 7 tall. X is a full cross stitch; . is an empty square.
. . X . .
. X . X .
X . . . X
X . . . X
X X X X X
X . . . X
X . . . X
Sixteen stitches: one in the top row, two in each of the next three rows, five across the crossbar, and two in each of the bottom two rows.
Stitching order, row by row
Start the thread. With two strands, use a loop start: take one long strand, fold it in half, thread the two cut ends through the needle, and come up from the back leaving the loop hanging below. Make the first diagonal, go back down, and catch the loop with the needle before pulling snug. No knot, no tail to weave in.
Row 1 — the apex. One stitch in the center column (column 3). Make the full X. Which diagonal goes on top is up to you, but decide now: every stitch in this letter — and in the rest of the piece — needs the same top leg direction. Most right-handed stitchers work the bottom leg from bottom-left to top-right (/) and the top leg from bottom-right to top-left (\). Reversed stitches catch light differently and show as a texture change even in the same color.
Row 2 — two stitches, one gap. Stitches in columns 2 and 4, with column 3 empty between them. Work the left stitch, then carry the thread across the back to the right one. A carry across one empty square is fine on any fabric, and the crossbar stitches will hide it later.
Rows 3 and 4 — the legs. Columns 1 and 5, with three empty squares between them. You could carry across three squares on the back for each row — but dark thread on white fabric can shadow through a 3-square carry as a gray line. The cleaner approach for any letter with an open middle is to work each leg as a vertical run: stitch the whole left leg (rows 3 and 4, skip the crossbar row, then rows 6 and 7), come back for the crossbar, then work the right leg. Three runs, and every carry stays one square.
Row 5 — the crossbar. Five stitches straight across, columns 1 to 5. Work the first half of each X left to right (/ / / / /), then come back right to left completing each X (\ \ \ \ \). This two-pass approach — the Danish method — gives the neatest back and the most even tension on any run of three or more. For isolated stitches like the apex, complete each X before moving on — the English method.
Rows 6 and 7 — the feet. Columns 1 and 5, two stitches per row. If you're running the legs as vertical columns, these are the last two stitches of each leg.
End the thread. Run the needle under four or five stitches on the back and trim close. No knots — they show as bumps under glass. If another letter comes next, carry to it if the gap is one or two squares; otherwise finish and restart.
The whole letter takes most people five to ten minutes at 14-count. The two habits that matter: every top leg runs the same way, and no carry on the back is longer than two or three squares.
Backstitch alphabets: when and why
A backstitch alphabet is a set of letters charted as lines between grid intersections instead of as filled squares. You'll see it called a backstitch font or an outline alphabet — same thing, and usually the script style is what people mean.
Here's a backstitch capital A that spans 4 squares wide and 5 squares tall. + marks a grid intersection your needle passes through; the lines between them are individual backstitches. The squares in between stay empty fabric.
    +
   / \
  +   +
 /     \
+       +
|       |
+-+-+-+-+
|       |
+       +
|       |
+       +
Fourteen backstitches: two diagonals down each side from the apex, three verticals down each leg, and four horizontals across the bar. Every stitch runs from one intersection to an adjacent one — never through the middle of a square, never longer than one square. That discipline is what keeps backstitch lettering crisp.
The rules that make backstitch letters work:
One strand. Almost always. Two strands on 14-count reads as a cord, not a line, and swallows the gaps that make small letters legible. Go to two strands only for display lettering over 15 stitches tall, or on 11-count where a single strand looks thin. If the alphabet designer specifies otherwise, follow the chart.
Work along the grid lines. Your needle goes through the holes at intersections, not through the fabric between them. On evenweave and linen you're stitching over two threads, so an intersection is every second hole — count twice.
Diagonals are single stitches. One square over and one down is one backstitch, corner to corner. One over and two down is also one stitch on most charts. Beyond two squares, break the stroke in two even if the chart draws one line — long floats snag and pull.
Curves are chains of short segments. A backstitch O or S is a polygon: horizontal at top and bottom, diagonals at the corners, verticals at the sides. Up close it's angular; from reading distance the eye smooths it. At 5 stitches tall an O is a hexagon; at 8 or more it starts to look round.
Stitch it last. If the lettering sits on or beside cross stitched areas, finish the crosses first. Backstitch worked over half-finished crosses gets pushed out of line when you fill in the rest.
Backstitch alphabets pay off for anything long. A 30-character quote in a 7-tall full-stitch alphabet is roughly 400 cross stitches; in backstitch at the same height it's perhaps 250 short single-strand stitches using a fraction of the thread. The tradeoff: a misplaced backstitch can't be stitched over — it has to come out — so count before each stroke. Free backstitch and full-stitch alphabet charts to practice from are collected at Lord Libidan, from 3 stitches tall to full display letters.
Names and monograms
A name is where most people first hit the problems a single letter doesn't have: getting it centered, spacing letters so they read as one word, and making two lines sit together. All of it is arithmetic done before the first stitch.
Centering a name
Off-center text is the most visible mistake in sampler stitching. Center it on paper first.
- Count the total width. Add the width of every letter in stitches, plus the empty columns between them. "EMMA" in a 5×7 alphabet: four letters at 5 squares each is 20, plus three 1-square gaps is 23 squares wide.
- Find the center column. For an odd width like 23, the middle column is the 12th. For an even width like 24, the center falls on a grid line between columns 12 and 13 — pick a side and use it for every line.
- Mark the fabric center. Fold the fabric in half both ways and put a pin, a basting stitch, or a washable marker at the crossing point. If the name sits above or below a design, center on the design's width, not the fabric's.
- Work outward from the center. Stitch the middle letter first, then work left and right. Starting from the left edge and trusting your count is how names end up 4 squares off.
For a two-line layout — a name over a date — center each line independently; a short date should sit centered beneath a long name, not left-aligned to it.
Letter spacing and kerning on a grid
The standard starting point is one empty column between letters and two or three between words. A starting point, not a rule — a grid doesn't know what letters look like.
Kerning — adjusting the space between one specific pair of letters — matters more in cross stitch than in print, because you have only whole-square increments and no half measures. Pairs to watch:
- T next to A. The T's crossbar overhangs; the A's foot splays out. With a full empty column between them they look like separate words. Try zero columns — tuck the A's foot under the T's arm.
- L followed by T, V, or Y. The same problem in reverse: the L's foot points into empty space under the next letter's arm. Close the gap to zero.
- Two round letters (O, C, G, Q) side by side. Round letters have empty corners, so they already look spaced. Keep one column; don't add more.
- Anything next to a descender (g, j, p, q, y). The tail hangs below the baseline into the line below. Leave an extra row between lines, or avoid descenders in tightly stacked text.
The check that works: chart the word, then look at it from across the room, or squint. Gaps that look uneven at a distance will look uneven stitched. Peacock & Fig has a practical walkthrough of adapting a printed alphabet chart to a custom phrase, including where to close and open gaps.
Baseline and stacking two lines
All the letters in a word share a baseline — the row their feet rest on. In an all-caps alphabet that's automatic. Once you mix in lowercase, descenders (g, j, p, q, y) drop below the baseline, so chart the whole word before stitching to make sure a single g doesn't collide with the line beneath it.
For two stacked lines, leave at least as many empty rows between them as the alphabet's descender depth plus one. For a 7-tall capitals-only alphabet, 2 or 3 empty rows reads well; 1 looks cramped; 5 or more and the lines stop feeling related. A 7-tall name over a 5-tall date needs only 2 — the size difference already separates them.
Initials and monograms
Initials are letters allowed to be large — 15 to 25 stitches tall for a framed monogram, 10 to 12 for cross stitch initials on a stocking or a pillow. The usual monogram problem is spacing three letters of different widths: an I, a W, and a B don't want the same gap. Center the middle initial on the piece, then position the outer two by eye so the visible gaps match, not the counted ones.
The traditional three-initial monogram puts the surname initial in the center and larger — first, LAST, middle. A two-initial monogram around an ampersand or a heart reads best when both letters are the same height and the joining symbol is 2 or 3 stitches shorter. For a single large initial in backstitch, two strands are appropriate — the display-size exception to the one-strand rule.
Signatures and makers' marks
Stitchers have signed their work for as long as samplers have existed. Look at any 18th- or 19th-century sampler in a museum collection — the V&A holds hundreds — and near the bottom you'll find a name, often an age, and a year, worked in the same thread as everything else. A cross stitch signature is that tradition continued: a small, permanent mark of who made this and when.
It's worth adding to every piece you keep or give. Frames get separated from their paperwork; a stitched mark doesn't. Fifty years from now, "M.R. 2026" in the corner may be the only provenance the piece has. Scroll the finished pieces on r/CrossStitch and count how many carry initials in a corner.
Three ways to sign a piece
1. Initials in a compact full-stitch alphabet. The classic. Two or three initials plus a two- or four-digit year in a 3×5 or 5×7 alphabet, in full crosses. A 3×5 "MR 26" is about 15 squares wide and 5 tall — small enough for any corner, and it matches the texture of the piece. If the piece already uses a compact alphabet for a date, use the same one.
2. A backstitch script signature. For pieces where a block of Xs would look heavy — a delicate floral, a design with lots of open fabric — a single-strand backstitch initial or short name in a script alphabet reads as a signature rather than a label. Chart it from a backstitch alphabet, or type it in a script font and let software translate the strokes.
3. Your actual handwriting, translated to the grid. This is the version that makes a piece feel signed rather than labeled. The method:
- Write your signature at the size you want it stitched. For an 8-stitch-tall signature on 14-count, that's a little over half an inch (8 ÷ 14 = 0.57 in, about 14.5 mm).
- Scan or photograph it, or trace it onto clear graph paper laid over the original.
- Overlay a grid at your fabric's count. Where each stroke crosses a grid line, note the nearest intersection.
- Connect those intersections with straight segments, each one square long — or one over and one or two down for steep strokes. A gentle curve becomes a run of short segments; a loop becomes a small polygon.
- Simplify. A real signature has flourishes that turn into a scatter of tiny segments. Drop any segment shorter than one square and any loop smaller than 2 squares across — the eye fills them in.
The result is recognizably your hand at reading distance and clearly a stitched line up close. That's the right outcome. Stitch it in one strand.
Placement, size, and thread
Where. The bottom-right corner is the convention, 2 or 3 squares in from the design's edge — inside the border if there is one, below the last row of the design if there isn't. Bottom-left is the alternative if the right corner is busy. Avoid the top; a mark at the top reads as a title.
How big. 5 to 8 stitches tall for a cross stitch signature on a piece 100 squares or larger. On a small ornament under 50 squares, 3 to 5. The test: findable when you look for it, invisible when you don't. A 10-stitch signature on a 60-square piece is a caption, not a mark.
What thread. One strand, whether full stitch or backstitch. Color has two schools. The quiet school uses a shade close to the fabric — on white Aida, one or two steps off white, such as DMC 3865 (winter white) or 3866 (ultra very light mocha brown) — so the mark is there without announcing itself. The traditional school uses the design's darkest color, usually the same thread as any backstitch outlines, so the signature belongs to the palette. Both are correct; the quiet school is safer on gifts.
What to include. Initials and a year is the minimum; first name and year is common on samplers. Some stitchers add a small personal symbol — a heart, a star, a motif they use on everything. Keep it to one line.
Signing a gift vs. your own piece
On your own work, sign however you like. This is where the handwriting signature belongs.
On a gift, the etiquette shifts: the piece is about them, not you. Keep your mark small and in the quiet color, and put the recipient's information — name, occasion, date — in the main lettering where it's meant to be seen. A common arrangement is a full-stitch dedication line ("For Maya, June 2026") in the design's palette, with your initials in the quiet color in the corner.
Many stitchers also sew a fabric label to the back with the longer record — full name, date, fabric count, thread brand and colors — and keep the front mark to initials. That label is what makes a repair possible 20 years on.
Sizing: how tall a letter needs to be
Letter height on a chart is counted in stitches. Letter height on fabric depends on fabric count — squares per inch. Divide stitch height by count for the finished height in inches; multiply by 25.4 for millimeters. A 7-stitch capital on 14-count Aida is 7 ÷ 14 = 0.50 in, or 12.7 mm. The same letter on 18-count is 0.39 in (9.9 mm).
| Letter height | 11-count | 14-count | 16-count | 18-count |
|---|---|---|---|---|
| 3 stitches | 0.27 in / 6.9 mm | 0.21 in / 5.4 mm | 0.19 in / 4.8 mm | 0.17 in / 4.2 mm |
| 5 stitches | 0.45 in / 11.5 mm | 0.36 in / 9.1 mm | 0.31 in / 7.9 mm | 0.28 in / 7.1 mm |
| 7 stitches | 0.64 in / 16.2 mm | 0.50 in / 12.7 mm | 0.44 in / 11.1 mm | 0.39 in / 9.9 mm |
| 10 stitches | 0.91 in / 23.1 mm | 0.71 in / 18.1 mm | 0.63 in / 15.9 mm | 0.56 in / 14.1 mm |
| 15 stitches | 1.36 in / 34.6 mm | 1.07 in / 27.2 mm | 0.94 in / 23.8 mm | 0.83 in / 21.2 mm |
| 20 stitches | 1.82 in / 46.2 mm | 1.43 in / 36.3 mm | 1.25 in / 31.8 mm | 1.11 in / 28.2 mm |
Two minimums to remember:
- Full-stitch letters need about 5 stitches of height to stay unambiguous. A 3-tall alphabet works for digits and some capitals, but B and 8, S and 5, and O, D, and 0 start to blur.
- Backstitch letters need about 8 stitches of height before curves read as curves. Below that, an O is a hexagon and lowercase letters lose their bowls.
Reading distance changes what legible means. A 5-stitch date on 14-count is 9 mm tall — fine in the hand, gone at 2 meters on a wall. Text meant to be read across a room should be 10 stitches or more on 14-count, closer to 15 on 18-count. See what is Aida count for choosing a fabric, and the fabric calculator for the finished size of a whole design.
Common mistakes
Off-center text. Counted from the left edge instead of from the center, or centered on the fabric when it should have been centered on the design. Chart the full line, find its middle column, and start there.
Inconsistent top-leg direction. One letter's Xs cross \ over /, the next letter's cross / over \. Same thread, visibly different texture. Pick a direction before the first stitch and never change it — including when you turn the fabric to reach a corner.
Too many strands for backstitch letters. Two strands on 14- or 16-count turns thin script into a cord and fills the counters (the enclosed spaces) of small letters. If the line looks faint, the fix is a darker color, not a thicker thread.
Low contrast. A mid-blue name on mid-blue fabric, or a pale signature on cream. Lettering has to be darker or lighter than what's behind it by a clear step. Test one letter before committing to the word.
Forgetting the quiet margin. A name jammed against a border, or a date one row under a design, reads as an afterthought. Leave at least 2 empty rows between text and anything else, and 3 or more between text and a border.
Mis-kerned pairs. T-A, L-T, and A-V with a full column between them look like separate words. Chart the word, squint, and close the gaps that look wide.
If you catch one of these after the fact, how to fix cross stitch mistakes covers unpicking a letter without damaging the fabric — and when it's fine to leave it.
Charting your own lettering
Everything above assumes you have a chart. If you don't — a specific name in a specific alphabet, or a signature from your own handwriting — you'll need to make one.
Graph paper works. Print a sheet at your fabric count from the cross stitch graph paper tool, pencil in the letters from any alphabet chart, and count the width for centering. Slow for long text, reliable for a five-letter name.
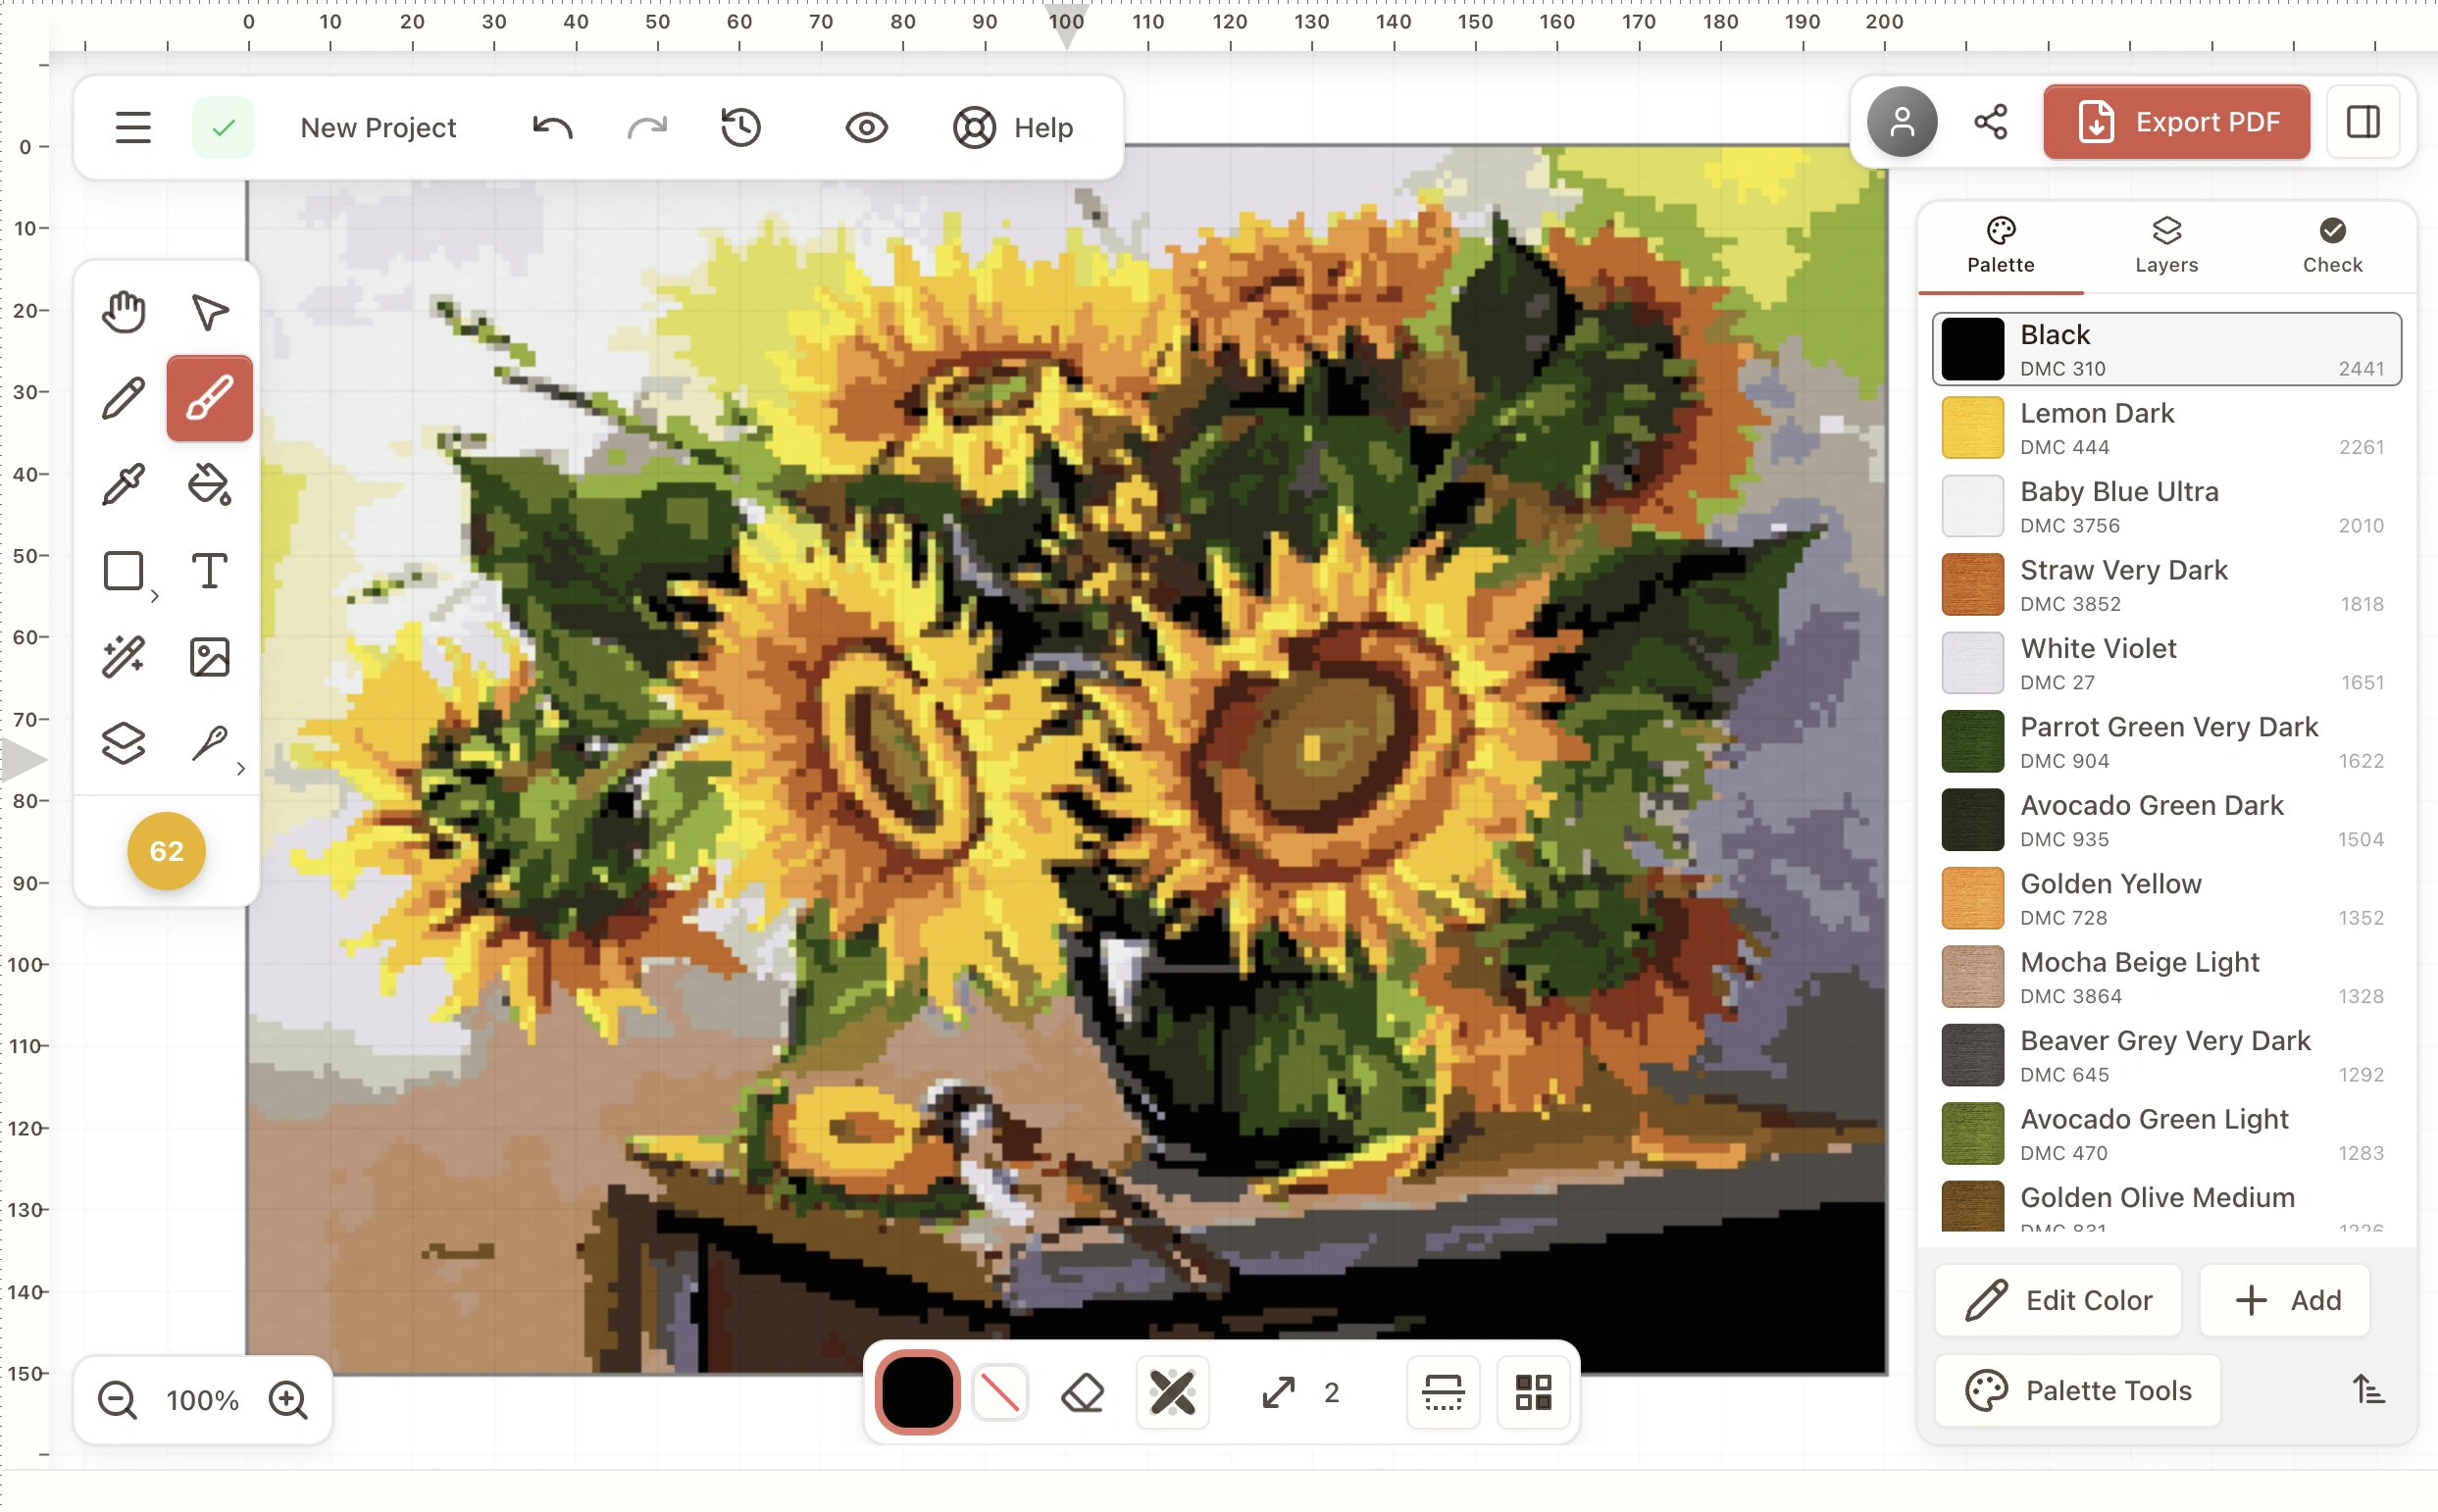
For anything longer, the free cross stitch pattern maker does the charting: type the text, pick a font — full-stitch alphabets, backstitch script, or standard typefaces — size it (a scale multiplier for full-stitch fonts, a height slider in stitches for backstitch and device fonts), and it renders the result as a grid of stitches with the finished size for your fabric count. Multi-line text is centered automatically, and letter spacing is adjustable when a pair needs kerning. Designing and previewing is free; the printable PDF chart is the paid part, or you can open the design in the editor and keep working there. The editor's text tool does the same inside a larger design, so a name can sit above a converted photo or beside a stitched motif.
Whichever route you take, the stitching is the same: consistent top legs, short carries, one strand for backstitch, and a count of the total width before the first X.
FAQ
How do you cross stitch letters?
How do I cross stitch my signature?
What is a backstitch alphabet?
How tall should cross stitch letters be?
How do I center a name in cross stitch?
How do you cross stitch the letter A?
Should I use backstitch or full stitches for lettering?
Chart your own name or signature
Type any text, pick a full-stitch or backstitch font, and see it rendered as stitches with the finished size on your fabric count.
Open the pattern makerFree to use. No account required.
Related Guides & Tools
Cross stitch fonts and alphabets
Which font to choose for a sampler, a baby piece, or a monogram — full-stitch and backstitch styles compared.
Backstitch in cross stitch
The technique behind backstitch lettering — strand counts, stitch length, and working between grid intersections.

What is Aida count?
How fabric count sets the finished size of your letters, and which count to choose for a first project.
How to fix cross stitch mistakes
Unpicking a misplaced letter without damaging the fabric — and when to leave it alone.
Cross stitch pattern maker
Type a name, pick a font, and get a stitch chart with the finished size for your fabric count.