How to Design Your Own Cross Stitch Pattern from Scratch
Decide the finished size before you draw a single stitch, letter last, and test-stitch a square before you commit. Here's the order that keeps a from-scratch design from turning into a rip-out.
Quick answer
This is how to make a cross stitch pattern by hand on a blank grid, whether you sketch it on paper first or draw straight in the editor.
Decide the finished size and count first, sketch the layout in blocks of 10, draw the big shapes, add the border, letter last, then pick colors, add backstitch, assign symbols, and stitch a test square. That order matters more than any tool. Most from-scratch patterns that go wrong went wrong in step one, when someone started drawing a motif with no idea how big it would end up on the fabric.
This guide is about designing on a blank grid. If you're starting from an image, you want a different page: convert a photo for photographs, or the pixel art guide for sprites and game art. Everything below assumes an empty canvas and an idea.
Decide size and count before you draw
A cross stitch pattern has two sizes: stitches and inches. The fabric count is the exchange rate between them. On 14-count Aida (14 stitches per inch), a 100-stitch motif is about 7 inches wide; on 18-count it's 5.6 inches; on 11-count it's 9.1. Same drawing, three different finished pieces.
So start from the end. Where is this going to hang, and how big is the frame? Work backwards:
- Pick the count you'll stitch on. 14-count is the default for a reason; the Aida count guide compares 11, 14, 16, and 18.
- Decide the finished size in inches, including a margin of about 3 inches on each side for framing.
- Multiply the design area by the count. A 6 × 8 inch design on 14-count is an 84 × 112 stitch canvas.
The fabric calculator does this in both directions, and it's worth running before you open the editor. A first original pattern under 100 × 100 stitches is a good ceiling: enough room for a motif, a border, and a line of text, small enough that a layout mistake costs an evening rather than a month.
When you create a new pattern in the editor, set the canvas to that stitch count. You can resize the canvas later, but the composition you sketch will be built around the space you gave it, so give it the right space now.
Sketch the layout in blocks of 10
Charts are printed with bold lines every 10 stitches, and it's the most useful habit to borrow for design. Before drawing anything detailed, block out the canvas: where the main motif sits, how wide the border is, where the text goes. Think in 10-stitch squares. A motif that's "about 40 by 50" and a border that's "one block wide" is a plan you can adjust; a half-finished flower in the top-left corner is not.
Two ways to do this, and plenty of designers do both:
- On paper. Print a sheet from the graph paper generator at your count and scribble. It's the fastest way to try three layouts in ten minutes. If you'd rather stay off screen entirely, Lord Libidan's paper-only method covers tracing pads and marking colors by hand.
- On screen. Open a blank canvas, pick a light gray, and rough in the blocks with a large brush. You'll paint over it, and undo is free.
Either way, the goal of this step is proportion, not detail. Is the motif too small for the frame? Does the text have room without crowding the border? Fix that here, where a change is one brushstroke.
In the editor, the brush tool with a big size is the sketching tool; the canvas navigation page covers zooming out to see the whole layout at once. For the composition itself, a single focal point and the rule of thirds, How to make your cross stitch pattern perfect is the best short read.
Draw the main shapes
Now the actual drawing. The order that works: outline, fill, refine.
Outline with the line and shape tools. Straight edges and clean curves are the hardest thing to freehand on a grid and the easiest to draw with a tool. Rectangles, circles, and ellipses come out symmetrical; a straight line stays straight across 60 stitches. Draw the silhouette of each shape first, in one color, as an outline. The shape tool and line tool handle this.
Fill the interiors. Click inside a closed outline with the fill tool and it floods to the edge. If the fill leaks out, the outline has a gap; find it, close it, undo the fill, and try again. This is why outlines come first. The fill tool page covers fill within a selection, which is how you keep a flood from running across the whole canvas.
Refine by hand. Diagonals on a grid always step, and where a curve meets a straight edge you'll want to move a stitch or two by hand. This is the brush at size one. Zoom in, fix the corner, zoom out, check it reads. A shape that looks right at 400% zoom can look lumpy at print size, so keep checking at the size it'll actually be viewed.
Mirror instead of redrawing. Almost every motif has symmetry. Draw half a heart, a quarter of a snowflake, one side of a wreath, then select it and flip. Rotate a leaf four times for a ring. The selection transform tool does the mirroring and rotating with a live preview, and it's the single biggest time-saver in from-scratch design.
Borders and repeats
A border is where designs on a grid quietly fail, because a repeating motif has to divide evenly into the side it runs along, and corners have to be planned rather than hoped for.
Measure the repeat. If your border motif is 8 stitches long and the side is 100 stitches, you get 12 repeats and 4 stitches left over. Either adjust the canvas to 96 or 104, stretch the motif to 10, or design the leftovers into the corners. Do the arithmetic before you draw the second repeat.
Corners are their own motif. The classic answer is a square corner block the same width as the border, with the repeat running between the blocks. It hides the arithmetic and looks deliberate.
Build one repeat, then copy. Draw the motif once, select it, and copy it along the side. Select the finished side, rotate 90 degrees, and you have the next one. The selection tool page covers selecting exactly the repeat and nothing else; the trap is grabbing one extra column, which puts a one-stitch gap in every repeat.
Check the off-by-one. After the border is placed, count the stitches from the border to the motif on both sides. If it's 12 on the left and 11 on the right, the frame will show it.
Letter last
Text is the most rigid element on a chart: a name is as wide as it is, and it won't squeeze. That's why it goes in after the layout, motif, and border are settled, into the space you left for it. Letter first and the text pushes everything else around for the rest of the design.
The choices that matter:
- Full-stitch fonts vs backstitch fonts. Full-stitch letters are solid and read from across the room; backstitch letters are fine and script-like and disappear at a distance. Small dates and initials usually want a compact full-stitch font; a long quote usually wants backstitch. The fonts and alphabets guide compares both with sizes.
- Spacing. One empty column between letters, two between words, then test it. Cramped text is the most common lettering mistake.
- Contrast. Dark on light or light on dark. A mid-tone name on a mid-tone background vanishes no matter how good the font is.
The text tool types a name or phrase, previews it live in the chosen font, and converts it to stitches when you apply. Center it against the border, not the canvas edge; the two are only the same if your margins are symmetrical.
Choose colors from a real thread chart
Pick colors from an actual brand catalog, not a color picker. A pattern is a shopping list, and every color needs a code someone can buy. Design in DMC, Anchor, or whichever brand your stitchers use, and the legend writes itself.
How many. Five to 15 for a sampler or a motif, as a rule of thumb. The reasoning: every color is a thread change, and a hand-drawn design has no photographic gradients to justify 30 shades. If a shape needs more than three shades to read, it's probably too small on the grid to show them. Two or three shades of one hue, a contrasting outline color, a background if there is one, and a text color is a full palette for most samplers.
How to pick them. Start from the DMC color chart or the brand you stitch with. Choose the main color of each shape first, then its shadow shade one or two steps darker in the same family, then the accents. The color theory guide covers why two mid-tones side by side turn to mud on fabric even when they look fine on screen.
Check it as cloth, not chips. A palette that looks balanced as a row of swatches can be lopsided when one color covers 60% of the fabric. Look at the pattern at print size with the symbols off.
In the editor, the palette tools page covers swapping one color everywhere, remapping the whole palette to another brand, and merging two colors that turned out too close to tell apart.
Backstitch as the last layer
Backstitch is the outline and detail layer: the line around a petal, the stem of a letter, the whiskers. It sits on top of the cross stitches and runs between grid intersections, so it follows the edges of the shapes you've already drawn. Draw it before the shapes are final and you'll redraw it every time you move a stitch.
Two things worth knowing before you start outlining everything:
- One strand, usually. Backstitch in two strands looks heavy next to two-strand cross stitches. The backstitch guide covers strand count and where the line should run.
- Not every edge needs it. Outlining every shape flattens the design into a coloring book. Outline where the shape wouldn't read without it (a light petal on light fabric) and where the detail is the point (a face, a letter).
The backstitch tool draws single lines or connected paths, snaps to stitch corners and midpoints, and can auto-outline a color area in one click, which is the fast way to see whether an outline helps before committing to drawing it by hand.
Symbols and the printed chart
A pattern is only as good as its chart. Most people stitch from a black-and-white symbol chart, so this is the step where a design that looks lovely in color either becomes readable or doesn't.
Assign symbols so neighbors differ. The rule is that any two colors that touch on the chart should have symbols that look different at print size: a filled circle next to a filled square, not an open circle next to an open circle. The editor assigns symbols automatically and lets you swap them; the symbol library shows what's available.
Print a test page in black and white. Print one chart page with no color and read it at arm's length. If you can't tell two symbols apart, nobody else can. The PDF quality guide lists what separates a chart people enjoy stitching from one they give up on.
Keep bold lines every 10. They're how stitchers count, and they match the way you sketched the layout.
The PDF export page covers the settings: color chart, symbol chart, legend with codes and stitch counts, cover page, and the Pattern Keeper option.
Stitch a test square before you commit
Before you stitch the piece, or before you sell the pattern, stitch a 20 × 20 square from the busiest part of the design on the fabric and count you planned. 20 minutes with a needle catches what no amount of screen time does: two greens that were fine on the monitor and identical in thread, a backstitch color that disappears against its fill, a font that's illegible at real size.
Fix what the square shows you in the editor, then export again. Patterns in Stitchmate stay editable after export, so this loop costs nothing but the 20 minutes.
Selling your design
An original design is yours to sell. The chart your buyers get should include a color chart, a black-and-white symbol chart, a legend with thread codes and per-color stitch counts, and the finished size at a couple of common counts. If your buyers stitch on Android tablets, they'll load it into Pattern Keeper, and the export has a setting for that. The for-sellers page covers licensing, branding the PDF, and what a seller's export bundle contains.
Start on a blank grid
Set the size and count, sketch in blocks of 10, and draw. Every tool in this guide is in the editor.
Open the pattern makerFree to design. No account required.
FAQ
How do I make a cross stitch pattern without a photo?
What size should my first original pattern be?
How many colors should a from-scratch design have?
Do I need graph paper, or can I design on screen?
Should backstitch be drawn first or last?
Can I sell a pattern I designed myself?
Related Guides & Tools
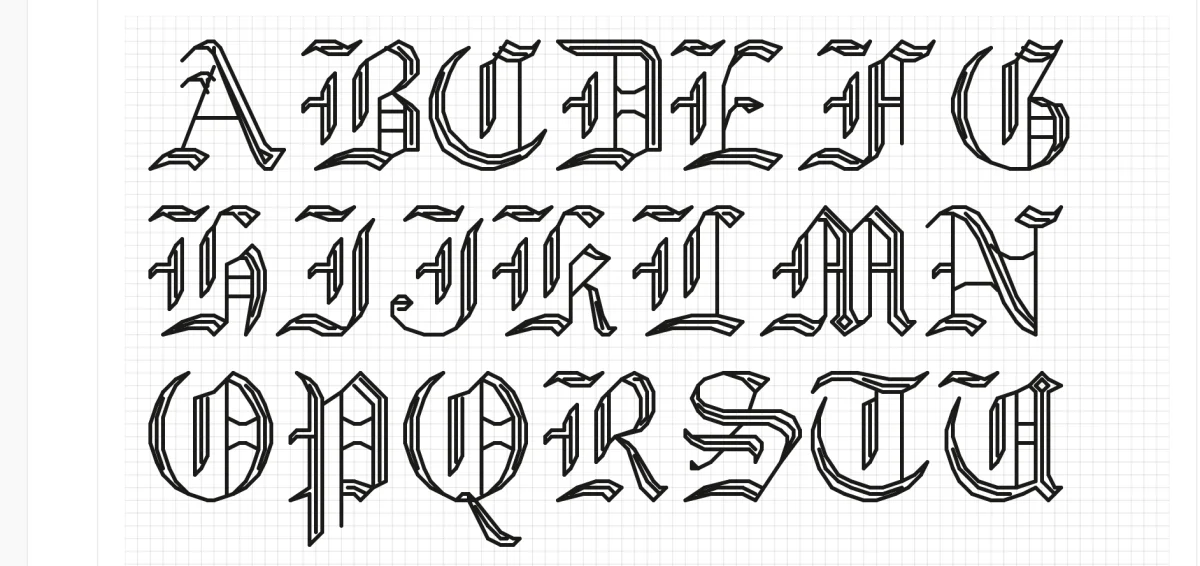
Cross stitch fonts and alphabets
Full-stitch vs backstitch fonts, sizing by count, and 48 built-in fonts for names, dates, and quotes.
Pixel art to cross stitch
Starting from a sprite instead of a blank grid: import at 1 pixel = 1 stitch without blurring.

Photo to cross stitch
The other way to a pattern: convert a photograph with real thread colors and confetti cleanup.
What makes a good pattern PDF
Symbols, legends, bold lines, and page layout: the difference between a chart people finish and one they abandon.
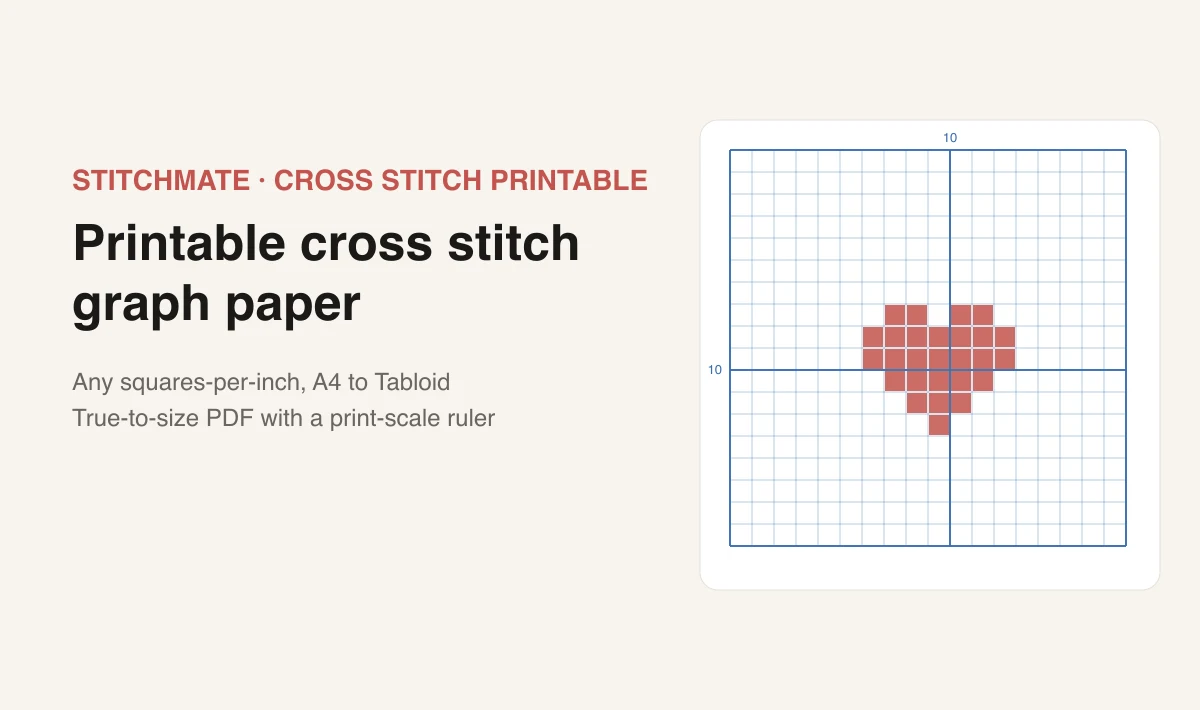
Printable cross stitch graph paper
Sketch layouts on paper at your exact count before you open the editor.

Aida count explained
11 vs 14 vs 16 vs 18 count, and how each changes the finished size of the same design.